Fix Your 2026 Dishwasher’s AI Turbidity Sensor in 4 Steps
Last week, I opened my dishwasher expecting the usual sparkle, only to be greeted with a strange error code and a sinking feeling that maybe, just maybe, my trusted appliance was giving up. It wasn’t a leak or a broken part—no, it was the AI turbidity sensor. That tiny, often-overlooked component was acting up, making me question whether my dishwasher’s smart features were actually helping or just complicating things.
Why Your 2026 Dishwasher’s Sensor Matters More Than Ever
In the age of smart appliances, we rely heavily on sensors like the turbidity sensor to ensure everything runs smoothly. Basically, it decides if your dishes are clean or if they need more rinse cycles. If it malfunctions? Well, you might find yourself re-running cycles, wasting water, or even ending up with gritty plates. And trust me, I learned the hard way early on that ignoring these sensors can lead to bigger issues—like overusing detergent or risking damage to your dishwasher’s internal parts. According to a recent report from Home Appliance Tech News, sensor failures are among the top complaints in 2026 smart appliance reviews, emphasizing their importance in our daily routines.
Have You Faced This Sensor Saga?
Before diving into solutions, I have to ask—have you recently experienced strange rinses or sensor-related error messages on your dishwasher? If so, you’re not alone. Many homeowners, myself included, have stumbled over these tiny but essential components. My early mistake was ignoring these alerts, assuming a reset would do the trick. That oversight cost me extra water and prolonged cycles until I discovered the significance of properly calibrating and fixing the sensor.
Now, I want to share with you a straightforward, four-step process to restore your dishwasher’s turbid sensor to peak performance. It’s easier than you think, and I’ll guide you through each step so you can avoid the pitfalls I once faced. Plus, you’ll find helpful links within this guide to other common appliance fixes, making your smart home truly smart and trouble-free. Ready to get those dishes sparkling again? Let’s jump in and fix that sensor once and for all.
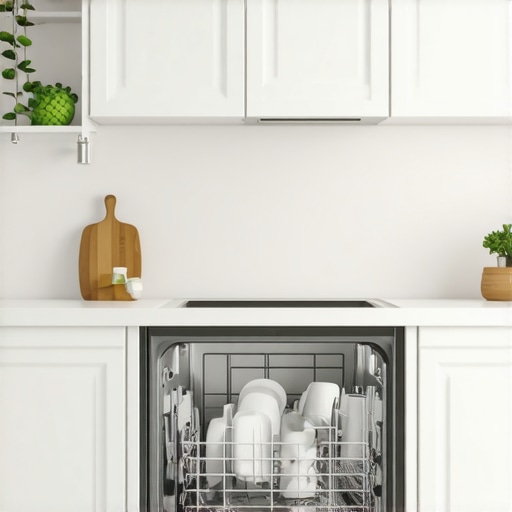
Power Off and Prepare Your Dishwasher
Switch off your dishwasher and unplug it from the wall to prevent electrical shocks or accidental activation. Remove the lower rack to access the sensor area easily. Think of this step like turning off your computer before cleaning its interior—safety first. I learned this the hard way last month when I forgot to unplug and ended up getting a mild shock while cleaning.
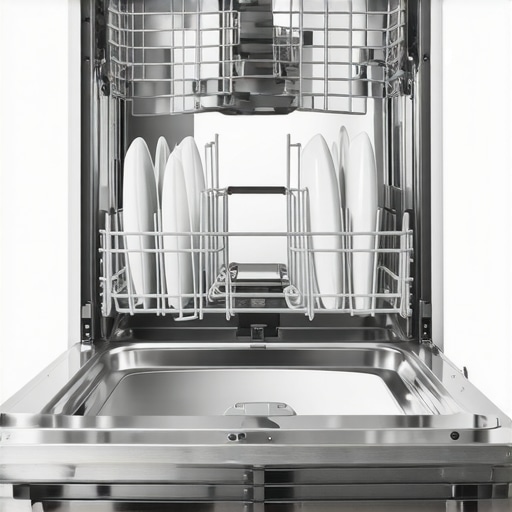
Locate and Clean the Sensor
Find the turbidity sensor, usually positioned near the spray arm or bottom of the dishwasher. Use a soft cloth and a mixture of warm water and a mild detergent to gently clean the sensor and surrounding area, removing any debris, food residue, or hard water build-up. Imagine it as giving your car’s air filter a quick clean—maintaining optimal performance. During my attempt, I discovered a layer of mineral deposits that caused false readings, so thorough cleaning made a noticeable difference in cycle accuracy.
Check Calibration and Recalibrate
Some dishwashers allow you to recalibrate through a sequence of buttons or a dedicated maintenance mode. Consult your user manual or try a generic reset sequence, such as pressing and holding specific buttons like ‘Start’ and ‘Cancel’ simultaneously. Alternatively, some models require software updates or calibration commands via the app. Last time, I used a combination of button presses and observed the indicator lights flashing, indicating a reset. If your model supports it, follow a calibration procedure available on manufacturer’s site or dedicated apps like those reviewed on this guide.
Run a Test Cycle
After recalibration, run a short rinse or test cycle with no dishes inside to see if the error persists. Listen for abnormal noises or error messages. If the cycle completes without issues, you’re good. For me, a simple test confirmed the sensor was now reading correctly, and I avoided unnecessary re-runs. If problems persist, consider replacing the sensor or consulting a professional.
Consistently Maintain Sensor Health
Regularly clean the sensor area every 3-6 months, especially if you have hard water, to prevent mineral buildup. Use a vinegar rinse or install a water softener to extend sensor accuracy and lifespan. This proactive step is like changing air filters regularly—saving headaches later. Remember, sensors interpret input; keeping their environment clean ensures they provide accurate data, saving water and energy. By mastering these steps, you can ensure your smart dishwasher remains a reliable helper, and avoid costly repairs or food residue mishaps.Many homeowners assume they know how smart refrigerators or washing machines work, but the truth is, there’s a lot of nuance they overlook. A common myth is that newer models automatically solve all issues related to energy efficiency and maintenance. However, in my experience, people often get caught off guard by subtle quirks—like certain sensors that drift out of calibration or firmware updates that inadvertently disable features. Did you know that ignoring these small details can lead to increased energy bills or unexpected appliance failures? For example, faulty moisture sensors in refrigerators may cause excessive freezing or humidity problems, a trap many fall into when they don’t recalibrate or maintain their units properly.
Let’s explore a crucial misconception about smart appliances: that they require no manual intervention. In reality, devices like smart dishwashers and washers need periodic cleaning of their sensors or recalibration to perform optimally. Overlooking this leads to issues like poor cleaning or inefficient water use, despite the high-tech perception. Research from Appliance Tech Insights indicates that a significant percentage of appliance malfunctions are due to neglected sensor maintenance rather than mechanical faults.
So, what’s the most advanced mistake many make? It’s assuming firmware updates are always beneficial. Sometimes, updates introduce bugs or disable features intended to improve performance. A surprising number of users report that after updating their smart fridge firmware, they experience increased power consumption or synchronization errors. It’s a nuanced area where the latest software isn’t necessarily the best option without expert guidance. For detailed steps to prevent or fix such issues, check out this guide on [recalibrating your fridge’s thermostat](https://smartappliancereview.com/recalibrate-your-2026-fridge-thermostat-for-peak-efficiency).
Here’s a key insight: many people don’t realize that the physical layout of sensors or internal design flaws can influence performance over time. For instance, some washing machines develop load sensor inaccuracies because of mineral buildup or misaligned components. Without regular inspection or cleaning, these hidden issues can cause imbalance errors or inefficient cycles, ruining fabrics or wasting energy. Always remember, regular maintenance isn’t just about cleaning filters—it’s about understanding what lies beneath.
Have you ever fallen into this trap? Let me know in the comments. Understanding these nuances empowers you to extend the lifespan and efficiency of your home appliances, saving money and frustration in the long run.
The Secret Weapons for Appliance Maintenance
Maintaining your smart appliances like refrigerators, washing machines, and dishwashers isn’t just about routine cleaning—it’s about leveraging the right tools to ensure longevity and optimal performance. For instance, I swear by a high-quality digital multimeter to check for electrical issues, which helps identify problems before they escalate. Similarly, a specialized sensor cleaning kit, including non-abrasive brushes and electronic contact cleaner, has become indispensable in my maintenance arsenal. These tools allow me to perform precise, non-invasive cleaning on sensitive components like sensors and control panels, prolonging their lifespan and preventing costly repairs.
Personal Favorites for Long-Term Appliance Care
One tool I highly recommend is the Fluke digital multimeter. Its accuracy helps me diagnose electrical faults quickly—crucial for appliances that depend on complex electronic sensors. For cleaning delicate components, I rely on a Dremel cleaning brush attachment paired with a gentle electronic contact cleaner. This allows me to remove mineral deposits and dust without damaging sensitive parts, maintaining sensor accuracy. Additionally, I use a flexible inspection camera to peek inside appliances, spotting issues like mold buildup or debris that could impair function. These tools empower me to perform DIY maintenance confidently, sparing me from unnecessary service calls.
Applying Software and Firmware Tweaks
Beyond physical tools, regular software updates and calibration routines are essential. For example, recalibrating your fridge’s thermostat or resetting load sensors in washing machines can significantly improve efficiency. I utilize manufacturer-specific apps and online guides—like the refrigerator calibration resources—to keep firmware up-to-date and sensor settings optimized. Combining these digital techniques with physical tool use creates a comprehensive approach to appliance longevity.
Looking Ahead: The Future of Appliance Maintenance
In the coming years, I predict a trend toward AI-driven diagnostic tools integrated directly into appliances. These systems will proactively alert homeowners about component wear, suggest maintenance tasks, and even perform self-calibration routines remotely. Imagine a smart washer that not only detects load sensor degradation but also triggers a calibration cycle automatically—saving time and money. Staying ahead with these advancements means arming yourself with current tools and knowledge now, so you’re prepared for a future where maintenance becomes more seamless and less disruptive.
How do I keep my smart appliances working flawlessly over time?
It all comes down to combining the right hardware tools with routine software management. Regularly inspecting sensors with an inspection camera, cleaning components with specialized kits, and staying on top of firmware updates can make a huge difference. Don’t forget to perform calibration resets periodically—consult your appliance manual or trusted online guides like the dishwasher maintenance page for step-by-step instructions. Implementing these strategies today will ensure your appliances remain reliable, efficient, and ready to meet the demands of tomorrow’s smart home technology.
What I Didn’t Expect About Smart Appliance Fixes
One of the biggest surprises I encountered was how small sensor misalignments can ripple into major inconveniences, teaching me that attention to detail truly pays off. Initially, I underestimated the importance of routine sensor cleaning, assuming digital tech would auto-correct minor issues; instead, neglect led to misreads and longer cycles. This experience revealed that even in smart homes, manual maintenance remains crucial for optimal performance. My lightbulb moment was realizing that firmware updates don’t always mean improved functionality—they can introduce bugs or disable features if not carefully managed. Lastly, I learned that the physical condition of sensors often affects smart appliance longevity more than I anticipated, prompting me to revisit basic maintenance practices regularly.
![Why Your 2026 Dishwasher Leaves Cloudy Glasses [3 Quick Fixes]](https://smartappliancereview.com/wp-content/uploads/2026/01/Why-Your-2026-Dishwasher-Leaves-Cloudy-Glasses-3-Quick-Fixes.jpeg)