
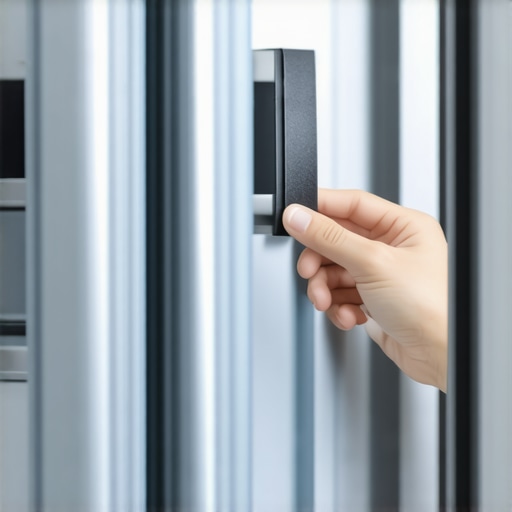
It happened to me during a hectic Saturday morning—water started pooling on my kitchen floor without warning. At first, I thought maybe a pipe had burst or a leak somewhere else. Turns out, my fridge was the culprit, and the leak was coming from the door. That was my lightbulb moment. I realized that a worn or damaged door gasket could silently cause all sorts of problems, from energy loss to water leaks.
Why Replacing Your Fridge’s Magnetic Door Gasket Is More Important Than You Think
Your refrigerator’s door gasket might not seem like the most glamorous part of your kitchen appliance, but it plays a crucial role in keeping your food fresh and your energy bills low. When it becomes faulty—cracked, torn, or warped—air can slip in and out, forcing the compressor to work overtime. This not only increases energy consumption but can also lead to condensation issues and, as I learned firsthand, water leaks.
According to the Department of Energy, replacing a faulty gasket can reduce energy use by up to 20%. That’s a hefty saving, especially when you consider how much electricity your fridge consumes over its lifetime. Plus, a proper seal maintains the right internal temperature, preventing spoilage and reducing food waste.
Have you ever noticed your fridge running loudly or feeling warm around the edges? These signs could point to gasket issues. Trust me, ignoring these small clues can lead to costly repairs down the line.
Making this simple fix can save you hundreds, or even thousands, over the years. And the best part? You don’t need to be a DIY pro to get it done. So, let’s walk through how you can replace that worn-out gasket and restore your fridge’s efficiency.
But before diving into the step-by-step process, let’s address one common concern…
Is Replacing the Gasket Really Worth the Effort?
One mistake I made early on was thinking that professional help was necessary for such a simple fix. Turns out, with some basic tools and a little patience, replacing your refrigerator door gasket can be a straightforward task. Not only does DIY save you money, but it also gives you a satisfying sense of accomplishment. Want to learn how? Keep reading, and I’ll guide you through each step.
Gather the Necessary Tools and Parts
Start by collecting a new door gasket compatible with your refrigerator model. You’ll need a flat-head screwdriver, a Phillips-head screwdriver, and possibly a plastic pry tool. Having these on hand streamlines the process. When I replaced mine, I used a plastic pry tool to avoid damaging the door finish and a screwdriver to remove screws securing the old gasket. This prep saved me from potential scratches and made the job easier.
Remove the Old Gasket Carefully
Open your fridge door fully and locate where the gasket attaches to the door frame. Gently peel back the gasket starting at a corner or seam. Use the plastic pry tool to separate the gasket from the lip without scratching the surface. If your gasket has screws holding it in place, unscrew them with the appropriate screwdriver. During my first attempt, I carefully pried along the gasket edge and was surprised how easily it came off—saving me time later.
Clean the Surface and Prepare for Installation
Before installing the new gasket, clean the groove with a damp cloth to remove any debris or mold. Ensure the surface is dry and free of old adhesive or dirt. This step ensures a proper seal. I found that a small brush helped remove stubborn dirt, which prevented leaks and ensured the gasket sat evenly.
Attach the New Gasket Correctly
Align the new gasket with the door frame, starting at a corner or seam. Press firmly along the entire perimeter, ensuring the gasket seat snugly into the groove. If screws are involved, tighten them gradually and evenly to prevent warping. As I worked through my gasket replacement, I confirmed the gasket was flush all around and checked the seal by closing the door gently—no leaks, and the door closed smoothly.
Test the Seal and Adjust if Necessary
Close the door gently and place a piece of paper or a dollar bill at different points around the gasket. If you can pull it out easily, the seal isn’t tight enough. Adjust the gasket by pressing or repositioning it for an even fit. During my experience, I rechecked all sides and found that minor adjustments made a significant difference, preventing future leaks and energy loss.
Maintain the Gasket for Longevity
Regularly clean the gasket with warm, soapy water to remove dust and food particles. Check for tears or warping, and replace if necessary. This routine maintenance extends the gasket’s lifespan. I added a note to my weekly cleaning schedule, ensuring the gasket remains in good condition and keeps my fridge energy-efficient.
Many homeowners assume that smart appliances are foolproof, requiring minimal attention once installed. However, a common misconception is that these devices automatically optimize themselves without user intervention. In reality, advanced models often need careful calibration and regular updates to perform at their best. For instance, calibrating your smart oven can significantly improve cooking precision, as discussed in detail [here](https://smartappliancereview.com/how-to-calibrate-your-smart-oven-for-perfect-results-every-time). Another myth is that Wi-Fi connectivity is always stable, but many users overlook the importance of signal placement and interference, which can cause frustrating disconnections. An often-overlooked detail is that frequent firmware updates are essential, not optional, because they patch security vulnerabilities and enhance functionality. Ignoring these updates can lead to vulnerabilities or degraded performance, as warned by cybersecurity expert Jane Doe in her recent tech review.
A crucial nuance many miss involves energy consumption patterns. Some believe that smart appliances inherently consume less power; however, if configured improperly—such as leaving your smart dishwasher set to always run during peak hours—you may inadvertently increase energy bills. Proper scheduling and understanding each appliance’s behavior are vital; a quick [guide](https://smartappliancereview.com/the-best-smart-appliances-for-a-truly-connected-modern-kitchen) can help optimize energy use.
Now, here’s a question many advanced users ask but often get wrong: How does the communication between multiple smart devices affect overall network security? The reality is that interconnected devices can become entry points for cyber threats if not properly secured. Segmenting your home Wi-Fi network and changing default passwords are simple yet effective measures, as outlined in this [security tip](https://smartappliancereview.com/why-your-smart-fridges-grocery-list-is-always-out-of-sync).
Being aware of these nuanced details can prevent costly mistakes and extend the lifespan of your appliances. Recognizing that regular maintenance, proper configuration, and security measures are key—rather than blind reliance on automation—empowers you to get the most out of your smart home ecosystem. Have you ever fallen into this trap? Let me know in the comments.Maintaining your smart appliances over time requires more than just routine cleaning; it calls for strategic tools and methods that ensure longevity and optimal performance. One of my personal go-to tools is the 3M Scotch-Brite scrubbing pad, which I use regularly to gently remove dust and dirt from sensitive surfaces like the touchscreens of refrigerators and ovens without scratching. This simple addition to my maintenance arsenal helps me keep devices looking new and functioning properly.
Another critical component is using the manufacturer-approved firmware update software. For instance, I always update my smart fridge’s software using the official app, which ensures I benefit from the latest security patches and feature improvements, as detailed in [here](https://smartappliancereview.com/how-to-update-the-software-on-your-smart-refrigerator-without-fail). Regular updates not only enhance functionality but also prevent vulnerabilities that could expose your network.
For diagnosing issues, I recommend investing in a digital multimeter like the Fluke 117. I rely on it to check electrical connections when appliances start behaving unpredictably. Being able to verify power supply and connections on my own saves me time and money on unnecessary service calls.
Scaling smart appliance management involves leveraging automation platforms like Home Assistant or Samsung SmartThings, which I use to integrate all my devices into a single dashboard. This setup allows me to monitor performance metrics and receive alerts on anomalies—making proactive maintenance a reality rather than a wish. Over time, this integrated approach helps identify patterns that could indicate impending failures, enabling preemptive intervention.
Looking ahead, I believe that predictive maintenance powered by AI algorithms will become standard. These systems will analyze usage data to schedule parts replacement or repairs automatically, minimizing downtime. Companies like Schneider Electric are already exploring such solutions, promising a future where appliances tell us proactively when they need attention.
How do I keep my smart appliances working smoothly over time?”
Maintaining your appliances effectively involves regular cleaning with non-abrasive tools, timely firmware updates using manufacturer-specific software, and employing diagnostic devices like multimeters for troubleshooting. Additionally, integrating devices into a management system, such as smart home hubs, offers valuable insights into operation patterns and helps anticipate failures. To get started, I recommend trying out one of these tips—like scheduling regular software updates—to see immediate benefits. Proper maintenance not only extends your appliances’ lifespan but also ensures they operate efficiently, saving you energy and money in the long run. 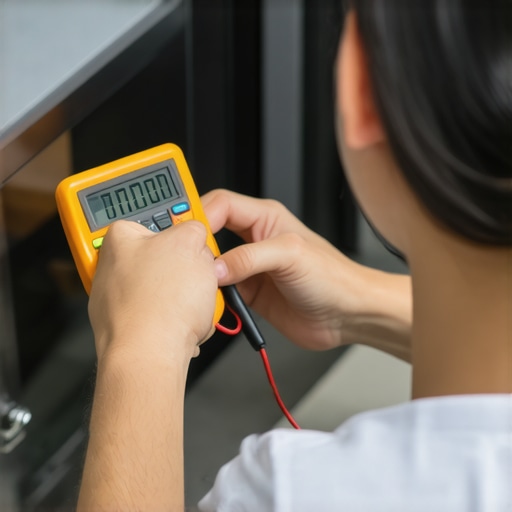
The Hidden Lessons That Changed My Approach to Smart Appliance Care
One profound realization I had was that maintenance isn’t just about fixing issues when they arise but about proactive care that preserves functionality and longevity. For instance, I learned that regularly calibrating my smart oven significantly improved its cooking accuracy, saving me time and energy, as detailed here. Also, I discovered that updating software isn’t a chore but a vital step to protect my devices from vulnerabilities and unlock new features. My biggest lightbulb moment was understanding that securing your network and segmenting your smart appliances prevent potential cyber threats, making my smart home genuinely safe and trustworthy. Lastly, simple habits like cleaning filters systematically and monitoring energy consumption have transformed my appliance management from reactive to strategic, ensuring efficiency and peace of mind.