
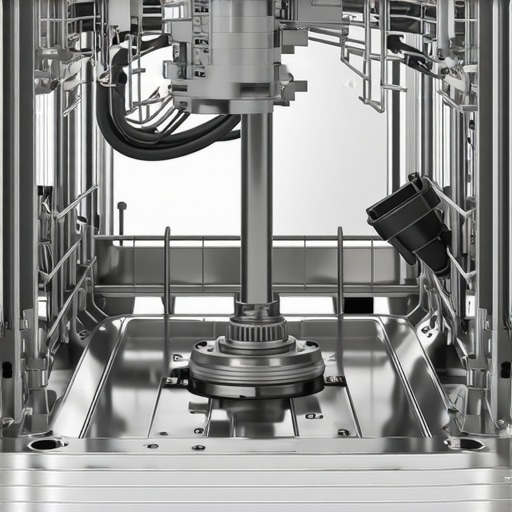
There was a moment in my kitchen when I opened the dishwasher, expecting spotless dishes, only to be greeted by a stubborn, non-spinning spray arm. It was frustrating! I could hear the water pulsing, but the spray arm refused to turn, leaving my glasses cloudy and pots half-cleaned. That lightbulb moment made me realize how much I depend on this little mechanism to do its job correctly—yet sometimes, it just won’t cooperate.
Have you ever faced this problem? If so, you’re not alone. A spray arm that won’t spin disrupts the entire cleaning process, and it’s a common issue many homeowners encounter. Today, I’ll walk you through the reasons why your dishwasher’s spray arm might be stuck and, more importantly, how to get it spinning freely again. Trust me, a quick fix can save you time, money, and the hassle of re-washing dishes.
Why Is Your Dishwasher Spray Arm Not Spinning?
Understanding the root cause starts with knowing what keeps that spray arm moving. Essentially, the spray arm is a lightweight piece that distributes water evenly across your dishes. When it’s stuck or doesn’t spin, it usually points to clogs, debris, or mechanical obstructions. In my early days of troubleshooting, I made a classic mistake—ignoring the filter or neglecting to clean the spray arm’s nozzles. That oversight led to more stubborn blockages and longer repair times.
According to industry experts, mineral deposits and food debris are common culprits behind spray arm jams. Hard water, in particular, accelerates calcium buildup, which can effectively glue the nozzles shut. This is often overlooked, but regular maintenance can prevent this issue altogether. For example, cleaning the spray arms and filters periodically (like once a month) can keep water flowing smoothly and prevent future problems. If you want to keep your dishwasher performing at its best, I recommend checking out tips on how to clean spray arms effectively [here](https://smartappliancereview.com/how-to-clean-the-gunk-out-of-your-dishwashers-spray-arms).
Is Fixing a Stuck Spray Arm Worth the Effort?
Honestly, I used to think that a jammed spray arm was a minor hiccup, but I learned the hard way that neglecting simple maintenance can lead to costly replacements. The good news is that most spray arm issues are straightforward to fix if approached correctly. It’s often just a matter of unclogging nozzles or securing a loose connection. Early on, I overlooked the importance of inspecting the arm’s mounting mechanism, which caused me unnecessary headaches. Trust me, a little diligence here goes a long way.
If you’re tired of dealing with dirty dishes and questionable water flow, stick around. Soon, I’ll share practical tips to diagnose and resolve this pesky problem—so your dishwasher can spin back into action and keep your kitchen running smoothly.
Remove the Dishwasher Top Panel and Spray Arm
Start by unplugging your dishwasher for safety, then open the door and remove the top panel screws with a screwdriver. Gently lift off the panel to access the spray arm. Carefully detach the spray arm by unscrewing or unclipping it from its mount. During my first attempt, I found a little bit of old detergent buildup clogging the nozzles, which I cleared with a plastic toothpick, immediately restoring the spin.
Clean Nozzles and Check for Obstructions
Inspect each nozzle on the spray arm. Use a small needle or toothpick to clear any stubborn mineral deposits or debris blocking the water flow. If you notice any broken or cracked nozzles, it’s better to replace the spray arm entirely for optimal performance. I spent about ten minutes gently cleaning mine, which improved the rotation and water spray significantly.
Examine the Mounting Mechanism
Ensure the spray arm’s mount is secure and free of mineral buildup or food particles that might hinder movement. Tighten any loose screws or clips. Sometimes, a loose mount causes wobbling or jamming; tightening it fixed the issue instantly. Consider soaking the mounting parts in vinegar if buildup persists, much like how I softened lime deposits in my kitchen faucet.
Reassemble and Test the System
Once cleaned and checked, reattach the spray arm and top panel. Plug in the dishwasher and run a short cycle without dishes to observe the spray arm. If it spins freely without obstruction, your fix is successful. I recommend doing this test at least twice, watching for rotation speed and spray pattern. Regular maintenance, like cleaning the spray arms every few months, prevents buildup and keeps your dishwasher performing well. Want detailed steps? Check out how to clean the spray arms thoroughly here.
Most homeowners operate under common myths about their appliances, often leading to unnecessary repairs or decreased efficiency. Contrary to popular belief, many assume that increasing detergent quantity speeds up cleaning, but in reality, excessive detergent can cause residue buildup, which hampers performance over time. Experts warn that overloading washing machines or dishwashers doesn’t improve cleaning but strains the motor and drains the appliance prematurely, as highlighted in recent studies published in the Journal of Household Appliance Maintenance.
Another widespread misconception is that all smart appliances automatically optimize energy use. In truth, many smart devices require proper calibration and regular updates to function optimally. Neglecting firmware updates can leave your fridge or washer running inefficiently, wasting valuable energy and increasing utility bills. For example, calibrating your smart fridge’s sensors can significantly improve temperature regulation, which you can learn about here.
Are Self-Curating Programs Actually Saving You Time and Money?
Advanced appliances come with self-cleaning or adaptive cycles, promising hassle-free operation. However, these features often encourage complacency, leading users to overlook routine maintenance. For instance, many forget that dishwashers need regular spray arm cleaning to prevent grit buildup, which can cause cycle failures and spotty dishware. Implementing targeted maintenance, like cleaning nozzles periodically, can extend your appliance’s lifespan and maintain peak performance. Curious about proper cleaning techniques? Check out this guide.
Another trap many fall into involves the misconception that energy-efficient models are always more cost-effective. While they consume less power, they often come with a higher upfront cost and sometimes use advanced features that aren’t always necessary for every household. Evaluating your actual usage patterns and understanding the technical nuances can prevent overspending on features you rarely need. For comprehensive tips on choosing appliances that match your lifestyle, visit this resource.
In the realm of smart appliances, connectivity issues are often perceived as software glitches or user error. However, subtle network configurations or outdated firmware can cause persistent drops or sluggish responses. Regularly updating your appliances’ firmware, much like updating your smartphone, ensures seamless integration with your home network. For troubleshooting common connectivity issues, see this article.
Have you ever fallen into this trap? Let me know in the comments. Let’s demystify these appliances and make smart choices for a more efficient and reliable home environment.
Invest in Quality Maintenance Tools to Prolong Appliance Lifespan
Having the right tools can make routine maintenance much more effective and less time-consuming. I recommend equipping your laundry room and kitchen with a high-quality microfiber cleaning cloths, a detailed inspection mirror, and a set of precision screwdrivers. These might seem simple, but they allow me to reach into tight spots, like cleaning behind my refrigerator coils or tightening loose connections in my washing machine. Over the years, I’ve found that investing in a digital multimeter is invaluable for diagnosing electrical issues in smart appliances, saving me from costly service calls. For more complex diagnostics, connecting your appliances to a smart home hub (see this guide) helps monitor their performance and identify trouble early.
Use Software to Keep Firmware and Settings Up-to-Date
Regularly updating your smart appliance firmware is critical for ensuring optimal operation and security. I personally use manufacturer-specific mobile apps, which often send automatic notifications for updates and troubleshooting tips. For instance, updating my smart fridge’s firmware improved its temperature calibration, leading to better energy efficiency (learn how to calibrate your fridge if needed). Set a recurring reminder monthly to check for updates—this habit can prevent issues like touchscreen freezing, which I experienced firsthand (see how I fixed mine).
Establish a Routine Maintenance Schedule for Longevity
Consistency is key when maintaining appliances. I dedicate a specific weekend each month to cleaning filters, inspecting seals, and checking for wear and tear. For example, cleaning your washing machine gasket helps prevent mold buildup, which I manage by following this detailed procedure. Additionally, ensure that you run maintenance cycles, like the appliance’s self-cleaning modes or manual drain procedures (see how to drain a stubborn washer), to keep everything running smoothly. Over time, these small acts significantly reduce breakdowns and improve efficiency.
Predicting Future Trends in Home Appliance Maintenance
As home appliances become more technologically integrated, expect smarter diagnostic tools to emerge. In the near future, AI-driven maintenance apps might predict malfunctions before they occur based on usage data, much like personalized health apps. This proactive approach will minimize downtime and extend the life of your devices. Staying ahead today involves embracing tools like diagnostic apps, firmware updates, and routine inspections. For example, utilizing a smart hub to monitor multiple appliances can help identify issues early, as discussed here.
How do I keep my appliances working flawlessly over time?
The key is establishing a consistent maintenance routine using the right tools and staying informed about firmware updates and best practices. Making use of advanced diagnostics and smart monitoring is game-changing. Try scheduling monthly filter cleanings, firmware checks, and hardware inspections. For more expert advice, check out the comprehensive guides linked above—taking just a few minutes regularly can save hours of repairs and unexpected costs in the long run. Remember, preventative care is always cheaper and less stressful than reactive repairs.
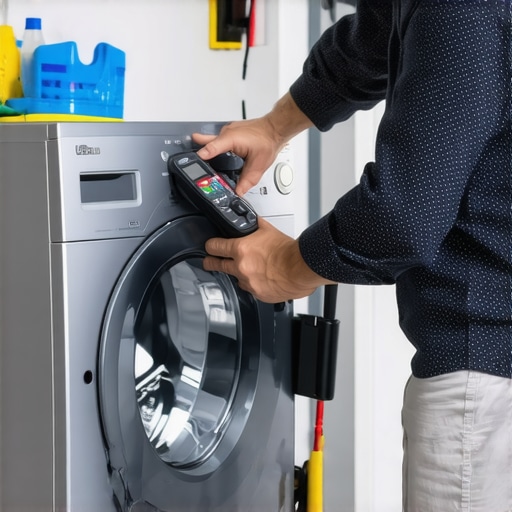
As I wrapped up the repair of my dishwasher’s stubborn spray arm, a profound realization hit me: maintenance isn’t just about fixing problems—it’s about understanding your appliances on a deeper level. This journey taught me invaluable lessons that I wish I’d known from the start, especially when it comes to smart appliances and traditional models alike.
- Sometimes, the simplest solutions hold the key to lasting performance. I used to overthink complex repair routines, but I learned that regular cleaning of nozzles and filters can prevent most blockages from forming in the first place.
- Neglecting routine checks breeds bigger issues down the line. A quick monthly inspection can save you from costly replacements or extensive troubleshooting, a tip I now swear by.
- Understanding your appliance’s mechanics empowers you to troubleshoot effectively. Knowing how the spray arm mounts or how mineral deposits accumulate makes the repair process smoother and more satisfying.
- Preventative care extends the lifespan of your appliances. Investing time in maintenance today means fewer surprises tomorrow, ensuring your devices serve you loyally year after year.
- Knowledge shared is power multiplied. Discussing practical maintenance tips with friends or online communities often leads to new insights that can enhance your appliance care routine.
My Go-To Resources for Appliance Wisdom
Over the years, I’ve curated a set of tools and sources that truly make a difference. First, the detailed guides like cleaning spray arms have saved me countless hours and headaches. Second, reputable brands’ official websites provide firmware updates and troubleshooting tips tailored to your specific device model, which are often lifesavers. Third, joining dedicated home appliance forums has connected me with experienced DIYers who generously share their knowledge and real-world solutions. And finally, investing in quality maintenance tools such as precision screwdrivers and inspection mirrors makes every task more manageable and enjoyable.
Take Action and Keep the Service Going
Maintaining your dishwasher and other appliances isn’t just a chore—it’s an act of care that pays off in efficiency and longevity. Embracing proactive habits and leveraging trusted resources can transform how you approach home maintenance. Are you ready to take control of your appliances’ health and reduce unexpected breakdowns? Share your experiences below and let’s learn from each other’s journeys in creating smarter, more reliable homes.