
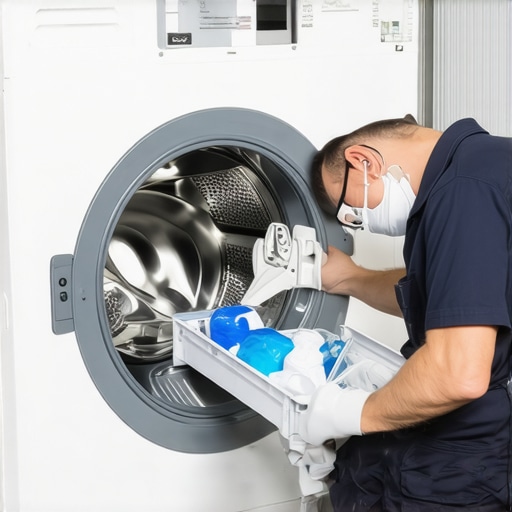
Ever gotten hit with that sinking feeling—you’re mid-wash, the machine is humming along, and suddenly water is pooling around your feet because the detergent drawer is leaking again? I remember the frustration all too well; it’s like a betrayal by an appliance you rely on daily. That moment when you realize your trusty washing machine has become a flood source instead of a helper. I used to think it was just a quirk, a one-off problem, but after a few too many cleanup sessions, I knew I had to dig deeper.
Today, I want to share how I finally tackled that stubborn leak. Not just a quick fix, but a lasting solution that saved me from calling in repair services over and over. We’re going to explore the common causes behind detergent drawer leaks and practical, straightforward ways to fix them. Trust me, this is a problem most homeowners face, and chances are, you’re next. So, if you’ve ever opened your laundry cabinet only to find a mini water feature, this guide is for you.
Why Your Washer’s Detergent Drawer Keeps Leaking
Before we dive into solutions, it’s crucial to understand the root of the problem. Leaks aren’t just annoying—they can cause mold, damage your machine, and mess with your laundry schedule. One overlooked culprit is clogged or cracked components inside the detergent drawer assembly. Over time, detergent residue, fabric softener, and dirt build up, obstructing water flow and causing backpressure that results in leaks.
Moreover, a faulty or misaligned rubber seal around the compartment can let water escape during each wash cycle. If there’s a crack or tear, the leak will persist until it’s fixed or replaced. Sometimes, the issue stems from the water inlet valve or blocked drainage channels, creating a perfect storm of problems.
Early in my troubleshooting, I made a rookie mistake: I simply cleaned the drawer without inspecting the internal components. That’s like spraying air freshener on a rotten apple—temporary relief, but not a cure. Recognizing the importance of a thorough check helped me prevent repeated leaks and extend the life of my washer.
For a deeper understanding of how modern appliances are evolving to conserve water—and for insights on selecting efficient machines—visit [this expert guide on washing machines that save water](https://smartappliancereview.com/washing-machines-that-save-water-expert-advice-for-2025). It’s fascinating how smart technology is shaping our laundry routines.
Next, let’s go step-by-step through the most effective ways to resolve that persistent leak, so you can get back to laundry days without worry.
Remove the Detergent Drawer Complete with Precision
First, pull out the detergent drawer fully. I remember struggling with a stubborn drawer that wouldn’t budge—think of it like trying to open a jammed drawer in a vintage cabinet. I gently rocked it side to side, pressing a little more each time, until it finally released. This step lets you access the inner components for a thorough inspection.
Inspect for Clogs and Residue
Look inside for buildup of detergent, softener, or dirt—a habit I learned the hard way. Use a soft cloth or a small brush to scrub away dried residues. During my initial attempt, I skipped this step and only rinsed, which led to recurring leaks. Cleaning out these deposits ensures unobstructed water flow and prevents backpressure issues that cause leaks.
Clear and Clean Internal Components
Next, focus on the internal channels and spray nozzles. Think of these as the veins of your washing machine—they need to be clear for the water to flow smoothly. Use a toothpick or a small brush to dislodge any blockages. In my case, I found a cluster of detergent clumps blocking a nozzle, which caused water to spill over during washes. Clearing these ensured water flowed properly again.
Check and Replace the Rubber Seal
Examine the rubber seal around the drawer cavity for tears, cracks, or deformation. I once found a small tear that seemed insignificant but was the culprit behind persistent leaks. If damaged, replace it following the manufacturer’s guidelines. This step is like replacing a worn-out gasket on a plumbing joint—preventing leaks before they escalate.
Test Water Inlet and Drainage Pathways
Turn off the machine, then detach the inlet hoses to inspect for clogs or buildup—think of it as clearing a clogged pipe. Use a vinegar and water solution to flush out any mineral deposits. Next, check the drainage hose or pipe for blockages. During my troubleshooting, flushing out mineral buildup greatly improved water flow, eliminating the leak source.
Secure the Components and Reassemble
Once cleaned and inspected, firmly reassemble all parts, ensuring seals and connections are tight. I learned to double-check that spray nozzles were positioned correctly before inserting the drawer back in. Loose fittings can mimic leaks or cause water to escape during cycles. Replacing the drawer carefully prevents misalignments that could lead to future issues.
Run a Test Cycle with Observation
Finally, run a short wash cycle with no laundry to monitor for leaks. Use a flashlight to inspect around the drawer during the cycle. I did this and saw a tiny leak emanate from a misaligned seal. Real-time observation helps catch problems early, saving time and preventing water damage. In case of persistent leaks, consult the repair guide or contact a professional if needed.
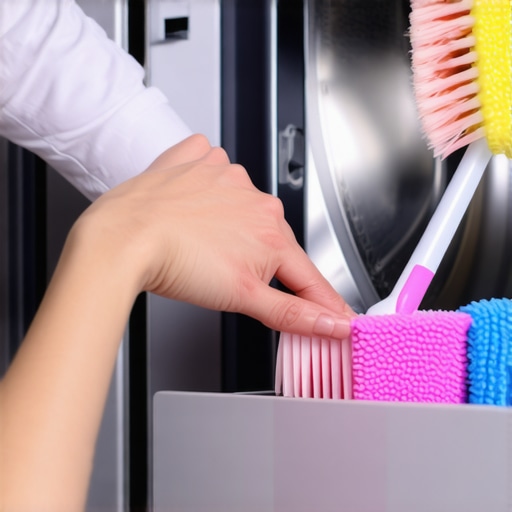 Many homeowners operate under misconceptions about appliances like dishwashers, refrigerators, and washing machines, often leading to avoidable issues and inefficiencies. Let’s dig deeper into the most common myths and unexpected pitfalls that even seasoned users tend to overlook. For example, a widespread belief is that newer models are always better for energy savings, but in reality, the true advantage lies in understanding specific features, such as eco modes, and using them correctly. Regarding smart appliances, many assume they are maintenance-free; however, neglecting firmware updates or misinterpreting notifications can diminish their lifespan and performance. An often-overlooked nuance is the importance of proper cycle selection—choosing the wrong wash cycle can lead to incomplete cleaning or unnecessary wear. Additionally, some think that regular cleaning of filters and seals is optional, but experts emphasize that neglecting routine upkeep can cause leaks, odors, or system failures. Consider the trap of assuming all water filters are interchangeable; using the wrong filter model can impair appliance function and void warranties.
For those interested in maximizing appliance longevity and performance, exploring future trends can be enlightening. For instance, the evolution of environmentally conscious features is not just hype—it’s shaping our appliances’ design and operation standards. Check out [this expert guide on water-saving washing machines](https://smartappliancereview.com/washing-machines-that-save-water-expert-advice-for-2025) to understand how technology is reducing resource consumption. The key takeaway here is to look beyond the surface—comprehending these nuances can save time, money, and frustration.
So, have you ever fallen into this trap? Let me know in the comments and share your experiences. Staying informed about the hidden intricacies of home appliances is the best way to ensure you’re getting their full value and lifespan.
Invest in Quality Tools for Effective Maintenance
Having the right tools at hand can make all the difference in maintaining and troubleshooting your appliances. I personally swear by a high-quality multimeter, like the Fluke 117, which allows me to quickly diagnose electrical issues in refrigerators and washing machines without guesswork. A digital inspection mirror is also invaluable for inspecting hard-to-reach seals or spray nozzles, especially in dishwashers. These tools save me both time and money, preventing minor issues from escalating into costly repairs.
Use Smart Diagnostics and Monitoring Software
Modern appliances often come with built-in diagnostic features or are compatible with dedicated apps. For example, smart washing machines can alert you to developing issues via notifications—significantly reducing downtime. I recommend setting up automated alerts through the manufacturer’s app and linking it with a smart home hub to receive real-time notifications. This proactive approach helps catch problems early, extending the longevity of your appliances. For advanced tips on leveraging these technologies, check out this comprehensive guide.
Regularly Clean and Perform Preventive Maintenance
Consistent upkeep is key. I dedicate time every few months to clean filters, seals, and spray nozzles. For instance, cleaning the filter in my high-end dishwasher with a dedicated brush has prevented stubborn buildup and leaks. Additionally, applying a silicone-based lubricant to door hinges and seals helps maintain a proper seal and prevents leaks over time. These small, routine steps are surprisingly effective in avoiding major breakdowns and improving efficiency.
Predict Future Trends and Prepare Accordingly
Looking ahead, integration of IoT and AI in home appliances is expected to become more seamless, offering predictive maintenance and energy optimization. For example, AI-driven refrigerators can alert you to impending compressor issues before they happen. To stay ahead, I recommend exploring this forecasted trend report. Embracing these innovations now will make long-term maintenance simpler and more reliable. Consider trying one advanced tip, like installing a smart water leak detector connected to your home network — it’s a game-changer for early detection of leaks and water damage prevention, especially in appliances prone to leaks.
How do I maintain my home appliances over time?
Consistency is crucial. Schedule routine inspections, keep a set of dedicated tools, and stay informed about the latest smart monitoring options. Regular cleaning, timely repairs, and leveraging technology not only keep your appliances functioning efficiently but also extend their lifespan significantly. Remember, a small investment in preventive maintenance today can save you from costly repairs tomorrow. For detailed guidance on choosing smart tools and systems, visit this expert resource.
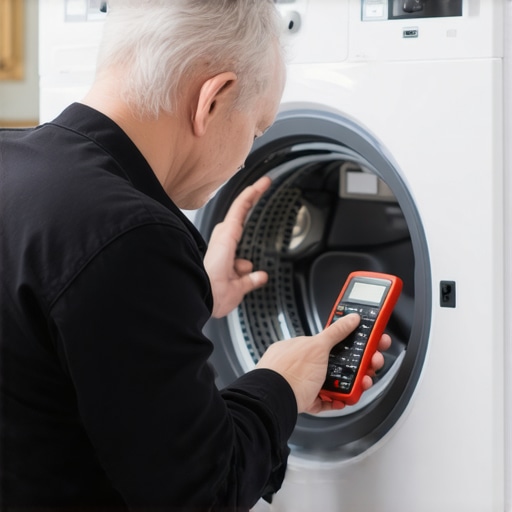
Image prompt: Close-up of a technician’s hand using a digital multimeter on a modern washing machine’s control panel, illustrating professional troubleshooting.
3 Lessons That Changed My Approach to Home Appliance Care
One of the biggest realizations I had was that routine maintenance prevents most leaks, especially in appliances like washing machines and dishwashers. Skipping regular cleanings of filters and seals can seem harmless, but small issues compound over time, leading to major repairs—or water disasters. My mistake was neglecting proactive checks, which I now know is akin to ignoring the warning signs your appliances give before something fails.
Second, I learned that understanding the inner workings—like knowing that a cracked rubber seal causes persistent leaks—can save you money and hassle. Instead of rushing to replace entire units, a simple seal replacement can restore efficiency and peace of mind. This shift from reactive to preventive maintenance has empowered me to troubleshoot confidently and extend appliance lifespan.
Finally, embracing technology has been a game-changer. Using smart diagnostic tools and connecting appliances to monitoring systems alerts me early about potential issues. These small steps have transformed my appliance management from a series of surprises into a well-orchestrated routine, ensuring my laundry days are stress-free and my appliances serve longer.
Tools and Resources That Became My Go-To Arsenal
I rely heavily on a quality digital multimeter like the Fluke 117 for electrical troubleshooting—it’s precise and easy to use, saving me from unnecessary repairs. For cleaning, a soft brush and specialty cleaning solutions tailored for appliance interiors help maintain seals and nozzles, preventing leaks before they start. When it comes to learning more about appliance trends and repairs, this comprehensive guide has been invaluable, blending expert insights with practical tips.
Additionally, I subscribe to industry blogs and forums where real users share their experiences. These communities reveal common pitfalls and innovative fixes, making me more equipped to handle surprises. For foresight into future appliance features and smart home integration, these trend reports keep me ahead of the curve, ensuring my investment remains savvy and future-proof.
If You’re Ready to Take Control of Appliance Care
Mastering home appliance maintenance isn’t about perfection; it’s about taking small, consistent steps that lead to significant benefits. The satisfaction of knowing you can troubleshoot minor issues, perform preventive measures, and leverage smart technology makes laundry and household chores less daunting. Every time I avoid unnecessary repairs or water damage, I feel more confident that I’m nurturing my home with care and knowledge.
What’s one appliance tip or trick you’ve learned that transformed your home routine? Share your stories below—let’s learn from each other’s experiences and make appliance maintenance a source of empowerment rather than frustration.