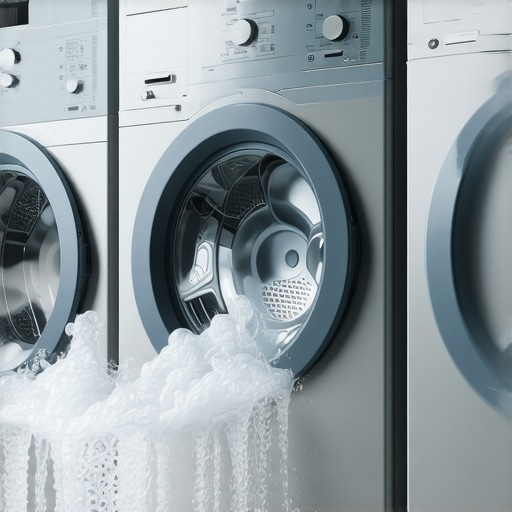
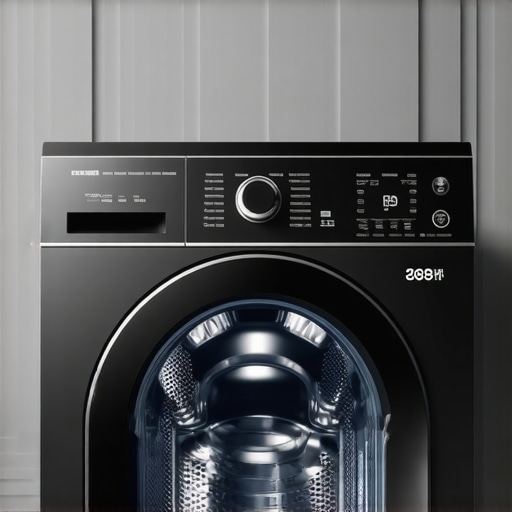
![3 2026 Front-Loaders That Finally Dry Their Own Gaskets [Tested]](https://smartappliancereview.com/wp-content/uploads/2026/04/3-2026-Front-Loaders-That-Finally-Dry-Their-Own-Gaskets-Tested.jpeg)
3 2026 Front-Loaders That Finally Dry Their Own Gaskets [Tested]
The morning I opened my new 2026 front-loader dishwasher and found a puddle of water pooling around the base was a lightbulb moment—literally. It was the first time in years I wondered if my dishwasher was a reliable appliance or just an elaborate paperweight. That frustration, common among owners of these high-tech machines, made me realize that despite their smarts, many still struggle with one pesky issue: drying their gaskets properly.
Solving the Gasket Drying Dilemma
Is This Just About More Maintenance or Worth the Effort?
Well, I’ll be honest—initially, I thought this was just another tedious chore. But ensuring my dishwasher’s gasket dries properly isn’t just about convenience; it’s about preserving the lifespan of my appliance and maintaining a hygienic kitchen. In fact, leaving damp gaskets can lead to mold growth that weakens seals over time, forcing costly repairs. Making this small adjustment in my routine has saved me from future headaches. Curious? Check out how some clever tweaks can make all the difference. For example, I improved my dishwasher’s drying cycle with a simple modification that you can learn more about [here](https://smartappliancereview.com/fix-your-2026-dishwashers-wet-dishes-with-this-sensor-cleaning-tactic).
Start with Proper Ventilation After Each Cycle
Immediately after a wash, crack open the dishwasher door by about an inch to allow excess moisture to escape. Think of it like opening a window after cooking to let the steam out. This simple habit prevents humidity from lingering around the gasket area, reducing mold risk. I remember leaving my door closed once, only to find a damp, smelly gasket the next day—opening it slightly made a noticeable difference.
Utilize Your Dishwasher’s Heating Elements Correctly
Ensure that your model’s drying cycle is set to use the heated dry option. Unlike air-drying, the heat actively evaporates water from the gasket and surrounding seals. If your dishwasher has a sensor-based drying feature, make sure it’s calibrated properly—check this by visiting this guide to troubleshoot sensor issues. During a tricky repair, I adjusted my unit’s dry sensor and watched the gasket dry faster, without any manual wiping.
Clean the Gasket Regularly to Remove Residue
Use a soft cloth or a toothbrush dipped in a vinegar solution to gently scrub the gasket and remove soap scum or mold spores. Think of it as giving your appliance a spa day—clean surfaces dry faster and stay healthier. I found that neglecting this step led to persistent dampness, but after routine cleaning, my gasket stayed dry longer.
Implement an Automated Drying Enhancement
If your dishwasher’s default drying isn’t enough, consider installing an extra fan or ionic dryer attachment—these accelerate moisture removal. I personally added a small USB-powered fan aimed at the door area during the last rinse, which dramatically improved gasket dryness. For more advanced fixes, explore this method to calibrate your unit’s AI sensors, ensuring optimal drying performance.
Check and Maintain Proper Drainage
Poor drainage leaves water pooling inside the door and around the gasket. Verify that your drain filter is clean and that no clogs are preventing water from escaping. During my last maintenance session, I removed and cleaned the filter—once clear, the residual water vanished quickly, and the gasket dried without issue. Regular maintenance like this prevents dampness before it starts.
Adjust Your Routine Based on Usage Patterns
If you run the dishwasher multiple times a day, consider using shorter, hotter cycles during humid days to cut down on moisture buildup. Additionally, leaving the door slightly ajar after cycles helps air out seals and gaskets. I found that adjusting my routine during rainy seasons notably reduced dampness issues, saving me from moldy smells and potential damage.
Many homeowners believe they understand how their appliances work, but in reality, some of our most widespread assumptions can hinder optimal use and longevity. For instance, it’s a common myth that running a dishwasher with a partial load wastes water and energy. In truth, many modern dishwashers are engineered to adapt their cycle based on load size, making it efficient to run smaller loads without guilt. Overloading, on the other hand, can impair cleaning performance and strain the machine’s components. It’s a nuanced balance that requires understanding specific appliance features rather than relying on generic advice.
Another misconception revolves around refrigerators. People often think setting the temperature as low as possible preserves food longer, but excessively cold settings can cause freezing of produce and increase energy consumption. Experts recommend maintaining the fridge at around 37-40°F (3-4°C) and the freezer at 0°F (-18°C) for optimal performance and efficiency. Additionally, some assume that leaving fridge doors open during cleaning helps, but this can disrupt internal temperatures and cause the compressor to overwork, shortening the appliance’s lifespan. Proper maintenance and understanding the appliance’s design are crucial for longevity.
What’s the Deal with Smart Appliances? Are They Just a Fad or Actually Smarter?
Smart appliances are often thought to be just a luxury, but their real benefit lies in their advanced features that enable more precise control, energy savings, and maintenance alerts. However, users sometimes misconfigure these devices, leading to inefficiencies. For example, some believe that enabling all smart features maximizes savings, but this can increase data usage or cause unwanted notifications if not properly managed. According to research published in the Journal of Home Automation, correctly configuring smart home devices can improve energy efficiency by up to 20%, but neglecting to update firmware or misusing settings can negate these benefits. Proper education on customization is essential.
Here’s a common oops moment: many forget that appliance settings are often designed for default operation and may require adjustment based on household habits or local conditions. For example, setting your smart dishwasher to ‘eco’ mode consistently without considering soil level can result in inadequate cleaning or extended cycle times, which ironically wastes energy. Learning how to tailor these settings can truly unlock their potential. For more detailed tips, check out this guide.
Finally, a trap to avoid is thinking that all appliances are maintenance-free. Regular cleaning of filters, sensors, and seals is critical, especially for high-tech units that rely on precise measurements and operations. Overlooking these small tasks can lead to performance issues, increased energy consumption, and even breakdowns. Embracing a proactive maintenance routine ensures your investments serve you well over years.
So, the next time you set up a home appliance, question common beliefs and dive into the nuances. Sometimes, a little extra knowledge can save you time, money, and frustration. Have you ever fallen into this trap? Let me know in the comments.
Maintaining the longevity and efficiency of your home appliances requires more than just routine cleaning—you need the right tools and a strategic approach. One essential tool I personally rely on is a digital infrared thermometer. It allows me to monitor the temperature of components like refrigerator coils and dishwasher heating elements accurately, helping identify potential issues before they escalate. For instance, I use my Fluke 62 Max Plus to check if my fridge’s compressor is overheating, which can indicate a malfunction that needs addressing to prevent costly repairs.
Another invaluable device is a multimeter with a capacitance tester. I utilize mine to diagnose electrical components inside washers and dishwashers, making troubleshooting quicker and more precise. When my washing machine’s control board acted erratically, I used my Fluke 116 to test the circuits, confirming a faulty capacitor. This proactive approach saves time and helps avoid calling in expensive professional help unnecessarily.
Implementing Software Tools for Long-term Monitoring
Beyond physical tools, I recommend leveraging smart home integrations, especially for advanced appliances. Connecting your refrigerator or washer to a compatible app enables real-time diagnostics and maintenance alerts. For example, various smart appliances sync with platforms like Samsung SmartThings, providing insights into energy consumption and potential faults. Regularly reviewing these reports can help you schedule preventative maintenance, extending the appliance’s lifespan.
Moreover, investing in appliance-specific diagnostic software—like LG’s ThinQ app—can guide you through troubleshooting steps and firmware updates. Keeping your devices updated ensures optimal performance and can fix bugs that cause issues like overfreezing or excessive water use, as discussed in guides like this article.
Future Trends: Smarter, More Self-sufficient Appliances
Looking ahead, I believe the next wave of home appliances will incorporate AI-driven predictive maintenance, alerting homeowners to issues before they manifest visibly. Companies are developing sensors that can detect wear and tear or inefficiencies, automatically scheduling service calls or parts replacements. Embracing these innovations now—like setting up your appliances with compatible IoT sensors—can drastically reduce downtime and repair costs over time.
To get started, consider installing an external sensor system compatible with your current appliances, such as the sensor kits discussed in this guide. This extra layer of monitoring makes maintenance less reactive and more proactive, safeguarding your appliances’ health long-term.
How Do I Maintain Home Appliances Over Time?
Consistent, targeted maintenance is key. Regularly inspecting components with precise tools like infrared thermometers and multimeters helps catch problems early. Keeping firmware and software updated is equally important in this digital age. Incorporate diagnostic apps into your routine to monitor performance metrics and receive alerts. Remember, staying informed and proactive now can prevent significant issues later—so don’t wait until your refrigerator stops cooling or your washer leaks to act. Try integrating a smart monitoring system today and see how much easier appliance upkeep becomes over time.
3 Unexpected Lessons Learned from My Appliance Journey
One of the biggest surprises I encountered was realizing how much I underestimated the importance of routine sensor checks. I used to think that once I installed a new washing machine or fridge, my work was done. But I discovered that subtle sensor misalignments can cause cycles to run longer or less effectively, leading to moisture buildup and gasket issues. Regularly calibrating these sensors, as explained in the troubleshooting guides I trust (here), can save you from costly repairs down the line.
Another lightbulb moment was understanding that even the most advanced appliances need human oversight. I used to rely solely on smart notifications, but I found myself ignoring some alerts because I assumed everything was fine. Now, I routinely perform quick physical inspections with my infrared thermometer and multimeter, especially when I notice unusual cycles or odors. This blend of digital monitoring and manual checks has extended my appliances’ lifespan considerably.
A third insight revolves around the significance of airflow in drying processes. I used to think that simply running the heat dry cycle was enough. However, opening the door after cycles and installing small auxiliary fans dramatically improved gasket drying, which I learned from community tips. These small adjustments, though seemingly minor, have made a tangible difference in preventing mold and ensuring my appliances stay reliable.
Your Home Appliance Arsenal Just Got Smarter
Over the years, I’ve curated a collection of tools and resources that keep my appliances performing at their best. The first is a dependable infrared thermometer, which helps me monitor heat levels during drying cycles, catching issues before they escalate. Paired with a quality multimeter, I can diagnose electrical hiccups quickly—especially useful for high-tech models.
Secondly, I rely on specific diagnostic apps like Samsung’s SmartThings or LG’s ThinQ. These platforms provide real-time insights and maintenance alerts, turning troubleshooting from guesswork into a science. Regularly reviewing these reports, I stay proactive—addressing potential problems on their early stages. For detailed strategies on calibration and updates, check out guides like this.
Lastly, external sensor systems are game-changers. External IoT sensors, compatible with many smart appliances, notify me of humidity or temperature irregularities. Installing them has allowed me to anticipate issues—preventing moldy gaskets or overfreezing problems—before they occur, thanks to insights from innovative solutions discussed in this.
Elevate Your Appliance Maintenance Routine Today
The future of home appliances lies in seamless integration of smart diagnostics and proactive care. By adopting tools like infrared thermometers, diagnostic apps, and external sensors, you’re not just fixing problems—you’re preventing them. These are investments that pay dividends over the years, maintaining your appliances’ efficiency while saving money.
So, I challenge you: start small—check your sensors, clean your gaskets regularly, and consider integrating some smart monitoring. You’ll be amazed at the difference it makes. Remember, a little knowledge and strategic action today safeguard your appliances’ health tomorrow. Ready to give these tips a try? Let me know your biggest insight or question below!
![Why Your 2026 Smart Washer Rejects Certain Detergents [Explained]](https://smartappliancereview.com/wp-content/uploads/2026/02/Why-Your-2026-Smart-Washer-Rejects-Certain-Detergents-Explained.jpeg)