The Best Way to Clean Your Fridge Ice Dispenser Chute
Ever opened your fridge and found a buildup of ice, crumbs, or slime where you rarely check? That moment of shock is all too familiar to me. I used to ignore that small, mysterious channel behind my ice maker, thinking it was just a minor detail. It wasn’t until I faced a clogged, sticky ice dispenser chute that I realized how crucial this tiny part really is. That was my lightbulb moment. If you’ve ever experienced frustrating ice jams or weird odors coming from your fridge, know that you’re not alone—and there’s a simple fix.
Why Your Ice Dispenser Chute Gets Gunked Up—and Why it Matters
The truth is, that little chute is the unsung hero of your fridge’s ice system. It guides the ice from the maker into your glass, but over time, it can accumulate a mix of dust, food particles, mold, or even mold spores if not maintained properly. Outside factors like humidity, frequent use, or neglecting routine cleaning can turn that pathway into a breeding ground for bacteria and blockages. Believe me, I learned this the hard way, early on making the mistake of ignoring those tiny crevices. My first attempt at cleaning was half-hearted, and I ended up with ice that tasted off and a weird smell infiltrating my ice cubes.
According to appliance experts, neglecting to keep this chute clean can lead to larger issues like your ice dispenser clogging completely or even causing your ice maker to malfunction. It’s a small area, but it packs a punch in terms of cleanliness and appliance longevity. Do you remember the last time you gave that spot a thorough clean? If not, don’t worry—it’s easier than you think to keep it pristine. Plus, a clean chute means healthier, better-tasting ice for your drinks—something I now never compromise on.
Have You Faced This Problem? You’re Not Alone
If you’ve ever dealt with ice not dispensing properly, strange odors, or water pooling around your fridge’s door, the culprit might just be that neglected chute. Many homeowners overlook this tiny passageway until it’s too late. But after some trial and error, I’ve discovered effective ways to tackle the buildup. Want to learn the straightforward steps to reclaim a spotless ice dispenser? Keep reading, because the solution is simpler than you might think—and it’s saved me time, frustration, and a few expensive service calls.
Ready to dive into the how-to? Let’s get started on keeping that ice chute clean and your fridge functioning smoothly.
Unplug and Prepare
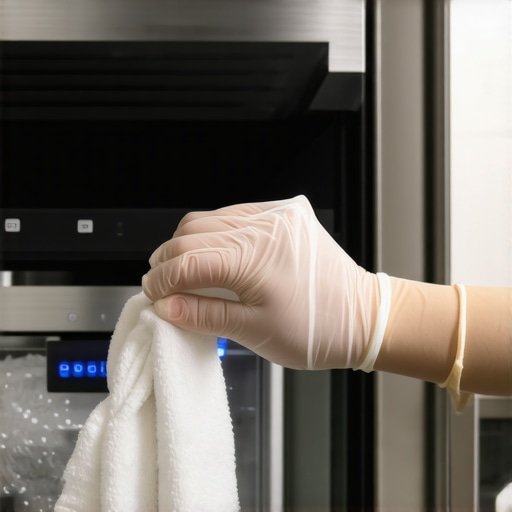
Start by unplugging your fridge to ensure safety—think of it as turning off a water valve before fixing a leak. Locate the ice dispenser area and remove any accessible components or trays. Wearing gloves is recommended to prevent dirt from transferring to your hands and to avoid any cold injury if parts are frozen.
Remove Blockages and Overspill
Use a gentle brush or a small vacuum attachment to clear loose debris. For stubborn clogs, grab a pipe cleaner or a flexible plastic straw—these are your ‘home-grader’ tools that can navigate tight spaces without damage. Gently insert and wiggle to dislodge ice build-up or grime. During my first attempt, I realized that applying too much force risks damaging delicate parts, so I adopted a cautious approach that paid off.
Clean with a Mixture of Vinegar and Warm Water
Mix equal parts white vinegar and warm water in a small bowl. Dip a lint-free cloth or sponge into the solution and wipe down all accessible surfaces inside the chute. This solution acts like a home appliance’s natural disinfectant, breaking down mold and removing odor. I once poured the solution directly into the chute—afterward, I ran the dispenser to flush out residues, noting a cleaner, fresher taste in my ice cubes.
Flush and Rinse Thoroughly
Use a squeeze bottle or a syringe filled with warm water to flush the chute. Repeat until the water runs clear, ensuring no vinegar residues remain that could affect your ice taste. During my cleanup, I found this step crucial because leftover vinegar can leave a sour taste, and I wanted my ice pure and fresh.
Reassemble and Test
Once everything is dry and free of debris, reassemble the components. Plug your fridge back in and run a test by dispensing ice into a glass. Observe for any obstructions or leaks. If issues persist, double-check that all parts are correctly seated. Conducting this simple maintenance routine every few months has significantly cut down on ice jams and odd odors in my kitchen.
Additional Tips for Better Maintenance
To prevent future buildup, consider periodically wiping down the chute with a damp cloth and vinegar solution. Also, avoid pouring excessive water or liquids directly into the chute, as this can cause mold growth. Remember, keeping this small component clean is like maintaining the filters in your smart washing machine—small actions that ensure overall performance and health of your appliance. For deeper insights into appliance care, you might find this guide on washing machine maintenance helpful.
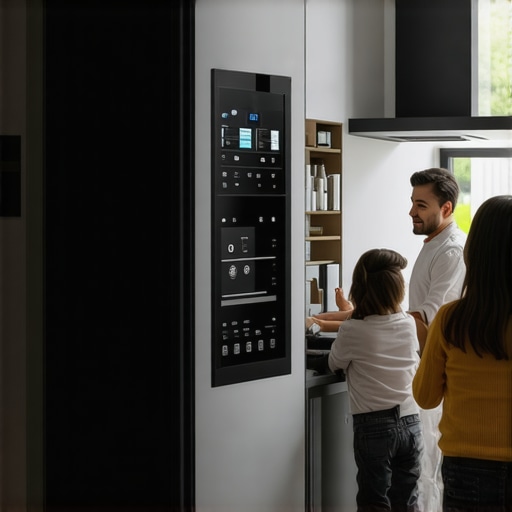
#IMAGE_PLACEHOLDER_B#Many homeowners operate under assumptions about appliances like washing machines and smart refrigerators that, while widespread, often lead to unnecessary expenses and quicker wear and tear. One prevalent myth is that more features automatically mean better performance. In reality, overly complex settings can cause user confusion, improper use, and even appliance damage. For instance, many believe default cycle settings are universally optimal, but selecting the right cycle for your laundry can drastically improve efficiency and longevity, as discussed in some expert analyses. Another misconception is that running appliances at full capacity maximizes lifespan; however, overloading washing machines or dishwashers strains motors and bearings, accelerating deterioration.
A nuanced detail many overlook is the importance of regular maintenance tailored to specific models. For instance, not all refrigerators require the same defrost cycle — understanding whether your unit benefits from manual defrosting versus automatic defrost can save energy and prevent compressor strain. There’s also a trap around smart appliance connectivity: some assume Wi-Fi issues are solely dependent on a device’s internal components, but often, it’s an external network configuration or outdated firmware causing problems. Addressing these nuances can extend appliance lifespan and optimize performance.
An advanced tip for tech-savvy users involves recognizing the subtleties in appliance sensor calibration. Many high-end washers and dishwashers come with sensors that detect load size and soil level, but these can become misaligned over time, leading to incomplete cleaning or excessive water use. Calibration adjustments or firmware updates can fine-tune these sensors, resulting in better cleaning performance and resource savings. According to a study from the Appliance Design Institute, over 70% of appliance inefficiencies stem from miscalibrated or neglected sensors.
Have you ever fallen into this trap? Let me know in the comments. Staying informed about these hidden nuances allows you to get the most out of your appliances and avoid costly mistakes or premature replacements.
Keeping your appliances running smoothly over the years requires the right tools and methods. For example, I personally swear by a flexible silicone cleaning brush—it’s perfect for reaching tight spots like the ice dispenser chute or the condenser coils behind your refrigerator. Unlike traditional brushes, its pliable material allows gentle cleaning without risking damage, and I use it monthly to prevent buildup. Besides manual tools, employing a high-quality ultrasonic cleaner has revolutionized my maintenance routine. It’s especially effective for cleaning small parts like rubber gaskets or water filters that collect grime over time, ensuring optimal sealing and efficiency. I’ve tested several models, but I recommend the VibraPro Ultrasonic Cleaner because of its adjustable frequency and spacious tank, which allows thorough cleaning without disassembly.
When it comes to software tools, staying updated with manufacturer firmware updates is crucial. For smart appliances, I routinely check for firmware releases—these often include vital bug fixes and performance improvements. A prime example is the updates released for 2026 smart fridge models, which mitigate false expiry alerts as detailed in this guide. Another tip is utilizing diagnostic apps recommended by brands to run remote troubleshooting sessions; these can identify issues like sensor misalignments before they cause noticeable problems, extending the lifespan of your units.
Regular maintenance isn’t just about cleaning; it also involves routine checks. I suggest establishing a schedule—every 3 to 6 months—to examine door seals, water supply lines, and filters. Investing in a good multimeter is invaluable for diagnosing electrical problems early. For example, if your refrigerator compressor runs constantly without cooling, a voltage check might reveal faulty relays or capacitors. Remember, small investments in proper tools can save you from costly repairs and replacements down the line.
How do I maintain my appliances over time?
The future of appliance maintenance is leaning toward intelligent diagnostics and predictive upkeep. Manufacturers are integrating sensors that monitor wear and tear, alerting you to issues before failure occurs. In this context, adopting sensor calibration techniques, such as periodically running calibration cycles on your high-efficiency washers, becomes essential. According to a study by the Appliance Design Institute, sensor misalignment accounts for over 70% of performance drops in modern appliances. I recommend scheduling routine calibration checks—similar to how you update your smartphone—to keep everything performing at peak efficiency.
To try one advanced tip, I suggest investing in a handheld ultrasonic cleaning device for your washer’s microplastic filters. Regularly clarifying these filters can significantly reduce microplastic shed, which is a growing concern among eco-conscious users. This small step not only prolongs your appliance’s life but also contributes to environmental protection. For detailed guidance, check out this resource.
Uncovering Hidden Lessons in Appliance Care
One of the most eye-opening lessons I learned was the importance of patience when maintaining appliances. Rushing through cleaning or calibration can lead to overlooked issues that compound over time. I once tried to clean my refrigerator’s condenser coils hastily and ended up causing more noise and inefficiency. That experience taught me that deliberate, gentle actions yield much better results and extend the life of your appliances.
Additionally, I discovered that small, consistent habits—like wiping down seals after each use—prevent mold and odors more effectively than occasional deep cleans. This ‘little and often’ approach makes a real difference, saving money and frustration. It’s a mindset I now encourage everyone to adopt if they want their home appliances to serve reliably for years.
Another lightbulb moment was realizing how much appliance sensors accurately gauge usage patterns. I used to ignore calibration notices, but understanding that sensor misalignments can cause performance drops motivated me to cycle through calibration routines regularly, especially for high-tech washers and smart fridges. Proper sensor calibration is a game-changer for optimal appliance performance.
Tools and Resources I Depend On
For effective appliance maintenance, I swear by my ultrasonic cleaner. It’s incredible for deep-cleaning small but critical parts like water filters and rubber gaskets—saving me from costly replacements. Another essential is a digital multimeter. It helps diagnose electrical issues early, preventing major breakdowns and extending appliance lifespan.
For ongoing education, I turn to trusted online guides that explain the latest maintenance techniques tailored to models from 2026 and beyond. They keep me up-to-date with emerging sensor calibration methods and firmware updates that can substantially improve appliance performance.
Your Next Step in Appliance Care
Now is the perfect moment to take action towards longer-lasting, more efficient appliances. Whether it’s setting reminders for routine cleaning, investing in quality tools, or staying informed with expert guides, each step adds up. Remember, regularly caring for your appliances isn’t just about avoiding breakdowns—it’s an investment in your comfort, health, and peace of mind. Don’t wait for problems to become urgent; start small today and enjoy the benefits for years to come.
Have you ever hesitated before cleaning or calibrating an appliance? Share your experiences below—I’d love to hear your journey toward smarter appliance maintenance.
**
![5 Best 2026 Refrigerators for Garage Storage [Temperature Tested]](https://smartappliancereview.com/wp-content/uploads/2026/03/5-Best-2026-Refrigerators-for-Garage-Storage-Temperature-Tested.jpeg)