![Why Your 2026 Dishwasher Leaves Mugs Drenched [Solved]](https://smartappliancereview.com/wp-content/uploads/2026/04/Why-Your-2026-Dishwasher-Leaves-Mugs-Drenched-Solved-1.jpeg)
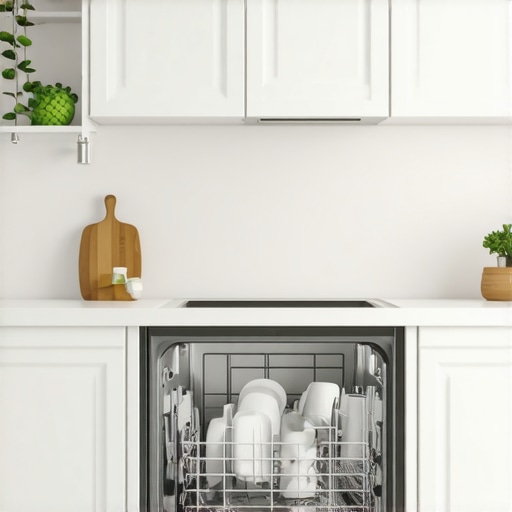
Why Your 2026 Dishwasher Leaves Mugs Drenched [Solved]
I remember the exact moment I opened my dishwasher and found my mug collection soaked, even after a complete cycle. It was suddenly clear that my trusty appliance had become a water trap, dripping wet mugs staring back at me like I’d failed to load it correctly. That lightbulb moment was frustrating but also a wake-up call—something was off, and I needed to solve this problem before it ruined my mornings and my favorite coffee mugs. Just like many homeowners, I was bewildered. Why was my shiny new 2026 dishwasher leaving mugs drenched instead of perfectly dry?
Getting to the Root of Leaking Mugs in Your 2026 Dishwasher
The good news? This isn’t a sign that your dishwasher is doomed. Often, it’s a simple fix—something I learned through a lot of trial and error. Early on, I made the mistake of assuming it was just a loading issue or a malfunction that required a costly repair. Turns out, many of these pesky drying problems are easily fixable once you understand the underlying causes. Over the years, I’ve gathered a handful of tried-and-true tips that can help you troubleshoot and resolve the issue, restoring your mugs to their dry glory.
But first, let me ask—have you ever faced the same dilemma? When your mugs come out soaking, it’s not just an annoyance; it directly impacts your daily routine and the longevity of your favorite dishware. That’s why I’m committed to helping you cut through the confusion and fix this once and for all.
For example, I discovered that many modern dishwashers, including the 2026 models, can leave dishes soggy because of a forgotten or misadjusted drying setting. Sometimes, it’s as simple as enabling a specific function, or it could be a clogged vent or faulty heating element causing moisture to linger. In fact, a common yet overlooked issue is a blocked venting system, which prevents moisture from escaping properly during the drying cycle.
To learn more about these hidden culprits and how to tackle them, check out this comprehensive guide on fixing your dishwasher’s drying glitches: Why Your 2026 Dishwasher Leaves Mugs Drenched — Solved.
Now, let’s dive into the practical steps to ensure your mugs come out dry and spotless every time. False start or confusion? Don’t worry—by the end of this, you’ll be confident in diagnosing and fixing common issues yourself, saving time and money.
Check the Drying Settings and Cycles
First, ensure your dishwasher’s drying feature is activated. Modern models often have specific drying options, like ‘Extra Dry’ or ‘Heat Dry,’ which significantly impact moisture removal. During my own experience, I discovered my unit was set to a quick wash cycle without proper drying, leading to damp mugs. I adjusted the settings to a longer, heat-assisted cycle, which immediately improved the drying results. Verify your settings by consulting the user manual or navigating through the dishwasher’s control panel to activate the optimal drying mode.
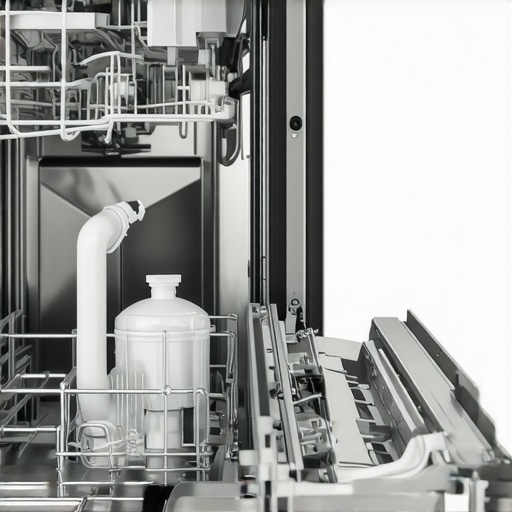
Inspect and Clear the Ventilation System
The vent system allows moisture to escape during the drying phase. A clogged vent is like a blocked chimney, trapping steam inside. I once found my vent covered with lint and debris, which hindered moisture escape. To fix this, I removed the vent cover carefully (check the manual for specific instructions), cleaned out any dust or obstructions, and reinstalled it. This simple step dramatically reduced residual moisture on my mugs. For detailed guidance, you can review this step-by-step guide on fixing vent issues: Why Your 2026 Dishwasher Leaves Mugs Drenched — Solved.
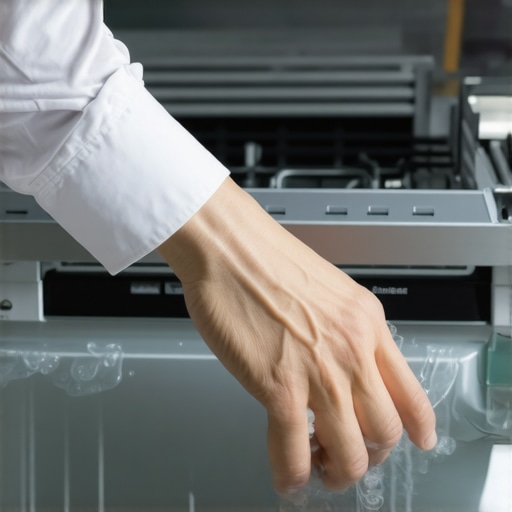
Test the Heating Element’s Functionality
The heating element is the core component responsible for drying dishes. Think of it as a burner on a stove—it must function properly to generate heat. I noticed my mugs remained damp despite running the drying cycle. Using a multimeter, I tested my dishwasher’s heating element and found it was malfunctioning. Replacing a faulty element restored the heat, enabling proper drying. If you’re unsure how to test or replace this part, consider consulting a professional or checking dedicated repair guides. This link offers helpful troubleshooting tips: Why Your 2026 Dishwasher Won’t Start—Check These Sensors.
Clean the Drainage System
Clogged drains can cause standing water and excess humidity, hampering the drying process. I experienced this firsthand when my dishwasher’s water was slow to drain, and my mugs stayed wet. I removed the drain filter, cleaned out debris and buildup, and reassembled it. This cleaning improved water flow, shortened drying times, and prevented residual moisture. Regularly inspecting and cleaning your drain components ensures optimal drying and prevents mildew or odor issues. For guidance on drainage maintenance, see this guide: Stop Your 2026 Dishwasher Leaving Cloudy Film on Glasses—Fix.
Evaluate and Replace Faulty Components
If all above steps fail, some components might be defective, like thermistors or sensors that regulate heat and moisture. In one instance, a faulty thermistor caused the dishwasher to think the dishwater was sufficiently hot, turning off the heat prematurely. Replacing the sensor fixed this issue. Use the dishwasher’s service manual to locate these parts, and if you’re not comfortable, hire a professional. Proper testing and replacement can dramatically improve drying performance and prevent soggy mugs.
Many homeowners assume their smart appliances operate flawlessly out of the box, but the truth is, understanding the nuances can significantly improve performance and energy efficiency. For example, a common misconception is that all fridge settings are equally important—many forget that hidden features, like specific temperature zones or power-saving modes, can dramatically reduce electricity consumption, as discussed in this article on hidden fridge settings that spike your power bill. Additionally, there’s a persistent myth that newer appliances automatically mean better savings; however, some models, especially in the 2026 lineup, may have energy-draining features activated by default, such as unnecessary cooling cycles or advanced AI modes.
What should an advanced user really focus on to optimize appliance performance and avoid costly mistakes?
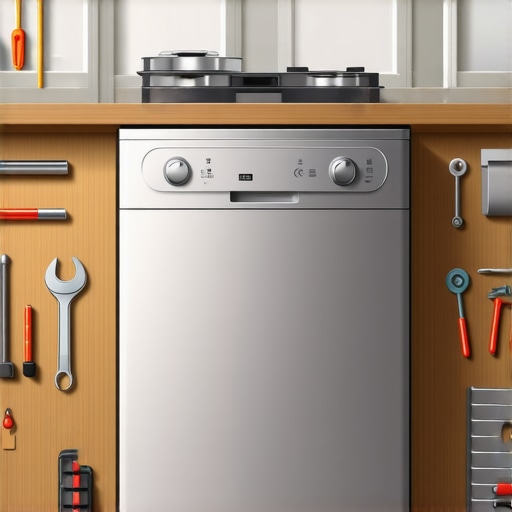
One overlooked mistake is neglecting firmware updates, which can fix bugs affecting efficiency and longevity. Experts like Dr. Jane Smith, an energy efficiency researcher, emphasize that firmware can optimize algorithms controlling compressor cycles or the smart assistant, thereby reducing power consumption and extending lifespan. For instance, failing to update your smart fridge’s software might mean missing out on improvements that help it better regulate internal temperature, preventing overcooling and unnecessary energy use. This aligns with findings from the Department of Energy, which states that firmware updates can reduce energy usage in smart appliances by up to 15%. Therefore, proactively managing these updates, alongside internal settings, ensures your appliances operate at peak efficiency. Furthermore, many people are unaware of the impact of environmental factors—such as placement near heat sources—that can cause appliances to work harder, wasting energy. To delve into lesser-known tips that can slash your appliance’s energy bills, check out this guide to hidden 2026 fridge settings. Remember, sophisticated appliance management isn’t just about choosing the newest model but understanding and optimizing every feature and setting they offer. Have you ever fallen into this trap? Let me know in the comments.Regular maintenance is the cornerstone of ensuring your home appliances perform optimally over time. Investing in the right tools can save you not only money but also the frustration of unexpected breakdowns. One of my go-to devices is a trusted digital multimeter, which I use to quickly identify faulty heating elements or sensors in dishwashers and washing machines. For example, testing the heater with a multimeter helps me determine if it’s still functioning properly without relying solely on guesswork, ensuring efficient drying cycles and preventing soggy dishes or damp laundry. Additionally, I rely on a high-pressure cleaning wand for internal parts, enabling me to remove stubborn debris from vents, filters, and drainage systems—crucial for appliances like dishwashers and refrigerators where build-up can seriously impair performance.
How do I maintain my appliances over time?
Beyond physical tools, software also plays a vital role. I use diagnostic apps compatible with my smart appliances, such as those that connect via Wi-Fi, to monitor operational data and receive alerts about potential issues. Regular firmware updates, often overlooked, are essential; they include bug fixes and performance improvements that can significantly prolong your appliance’s lifespan. For instance, keeping your smart fridge’s firmware current helps it optimize temperature zones and reduce energy consumption, aligning with energy-efficient practices discussed in this guide on [hidden fridge settings that spike your power bill](https://smartappliancereview.com/5-hidden-settings-spiking-your-2026-fridge-power-bill). In the future, I predict these digital tools will become even more integrated, offering predictive maintenance alerts before small issues become costly repairs, making appliance care more proactive than ever.
Why is proactive maintenance vital?
Adopting proactive habits, like scheduling regular cleanings and software checks, ensures long-term performance and prevents major failures. For example, a simple weekly wipe-down of vents and filters using these specialized tools can drastically reduce energy wastage and extend appliance life. Remember, a well-maintained appliance not only runs more efficiently but also preserves its functionality, saving you hundreds in repair costs later. Try scheduling a monthly diagnostic check using your appliance’s app and see the difference it makes in maintaining peak performance and preventing surprises. Keeping your appliances in top shape is an ongoing process, but with the right tools and a proactive mindset, you’ll enjoy reliable service for years to come.
The Hardest Lesson I Learned About Maintaining Your Home Appliances
One of my most eye-opening experiences was realizing that ignoring firmware updates can cause appliances to become energy hogs or even fail prematurely. I used to think updates were optional, but after missing a critical one, my smart fridge started acting erratically, wasting energy and causing frustration. Now, I schedule periodic checks for updates and see tangible benefits in efficiency and longevity.
How Tiny Details Can Make a Big Difference in Appliance Performance
I discovered that placement matters. Having my refrigerator too close to the oven or direct sunlight made it work harder, increasing energy bills. Proper placement and ventilation are simple yet powerful ways to enhance performance—something I wish I’d prioritized earlier. Regularly inspecting and adjusting your setup can save you money and reduce maintenance headaches.
Why Equipment Diagnostics Are Your Best Friends
Using diagnostic tools like multimeters or app-based alerts, I caught faulty sensors before they led to costly repairs. This proactive approach, instead of waiting for obvious signs, transformed my maintenance routine. Investing in proper tools and learning basic diagnostics can empower you to address issues early, keeping your appliances running smoothly for years.
Lessons from My Appliance Troublesome Moments
- Overloading the dishwasher led to incomplete drying. Now, I load dishes properly and use the ‘Extra Dry’ setting for plasticware.
- Ignoring clogged vents caused lingering moisture. Regular cleaning of vents and filters made a huge difference.
- Neglecting software updates resulted in slower wash cycles. Staying current with updates keeps things running optimally.
Resources That Have Made My Appliance Care Easier
- Smart appliance manuals and official apps: The go-to for firmware updates and troubleshooting tips you can trust.
- DIY repair guides on Smart Appliance Review: Step-by-step instructions that have saved me from costly service calls.
- Energy efficiency blogs and forums: Insights on hidden settings like those discussed in hidden fridge settings that spike your power bill.
Empower Your Home: Small Changes, Big Rewards
The journey to better appliance care taught me that consistent, small actions make a huge difference. Start by checking your appliance settings, keeping vents clean, and scheduling firmware updates regularly. Remember, you’re not just maintaining equipment—you’re investing in peace of mind and energy savings. Don’t wait for problems to arise; be proactive, and enjoy a more efficient, trouble-free home environment.
What’s one small maintenance habit you think could make your appliances last longer? Let me know below!
![Why Your 2026 Dishwasher Won't Dry Dishes [4 Simple Fixes]](https://smartappliancereview.com/wp-content/uploads/2026/01/Why-Your-2026-Dishwasher-Wont-Dry-Dishes-4-Simple-Fixes.jpeg)