
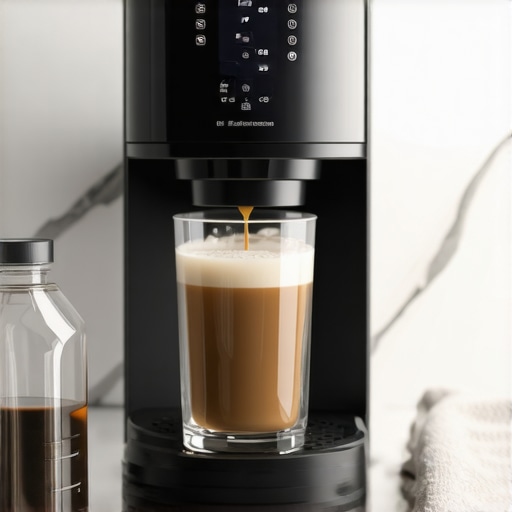
I woke up last Tuesday to a sound no coffee lover ever wants to hear: my $300 smart brewer making a pathetic, gurgling wheeze instead of its usual crisp, rhythmic drip. I looked at the carafe, and after five minutes, I had barely two ounces of lukewarm liquid. It wasn’t a software glitch or a Wi-Fi drop; it was the silent killer of appliances—calcium. I’d ignored the “descale” notification on my phone for three weeks, thinking I knew better. I even made the rookie mistake of thinking a quick rinse with hot water would fix it, but let’s be honest, that’s like trying to wash a car with a spray bottle during a dust storm. My smart machine was suffocating under layers of white, crusty mineral deposits, and I almost ruined the delicate internal sensors by getting impatient.
Stop Your Coffee Maker from Dying a Slow, Chalky Death
If you’ve noticed your coffee tastes a bit like a dusty chalkboard lately, you aren’t alone. Hard water is the primary culprit behind most appliance failures. It’s the same reason your dishwasher leaves a chalky film on your coffee mugs even when you use the heavy duty cycle. When those minerals build up inside the narrow tubes of a smart brewer, the heating element has to work twice as hard, which eventually leads to a burnout. According to the United States Geological Survey, over 85% of American households deal with hard water. That’s a staggering amount of scale threatening our morning caffeine fix! We are going to tackle this today using simple kitchen staples that won’t fry your motherboard. Have you ever seen that white crust forming around your water reservoir and wondered if your machine was toast?
Is using expensive descaling solution actually worth the hype?
I get it. Every time you open your app, it tries to sell you a $20 bottle of proprietary cleaning fluid. It feels like a total cash grab. For a long time, I was skeptical, too, and just used whatever was under the sink. But here is the reality: while vinegar is a great budget option, its high acidity can occasionally be too harsh for the silicone seals in newer, high-tech machines. I’ve found that finding the best detergent for hard water and the right descaling agents is less about the brand and more about protecting the longevity of your investment. You don’t need the most expensive option, but you do need a plan. If you’ve ever dealt with a smart oven that refuses to connect or other tech glitches, you know that keeping the hardware physically clean is the first step to keeping the software happy.
Run a Controlled Cycle to Melt the Gunk
The first thing you need to realize is that your smart machine is basically a maze of tiny sensors and narrow tubing. Think of scale like a slow-moving traffic jam in a one-lane tunnel. If you don’t clear it, the system overheats and the software starts throwing error codes that don’t make sense. Start by filling the reservoir with a mixture of half white vinegar and half distilled water. If you’re dealing with hard water in other parts of the kitchen, finding the best detergent for hard water can prevent some of this, but once the scale is physically present inside a boiler, you need a liquid solution to dissolve it. 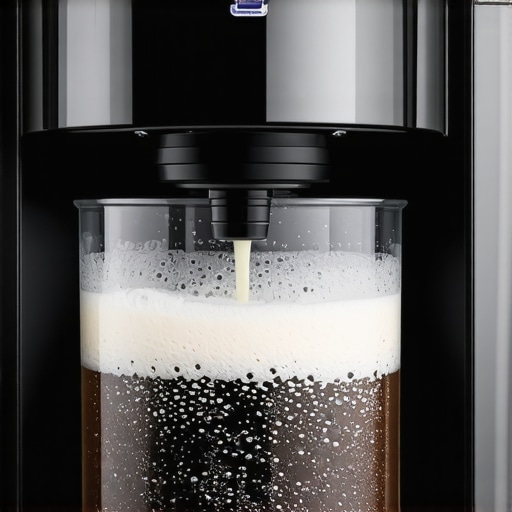
Mix the Solution with Precision
I once dumped a straight bottle of high-concentration vinegar into my reservoir, thinking ‘the stronger the better.’ It was a disaster. The fumes were so intense they actually triggered a false alarm on my smart home hub, and the high acidity started to compromise a small rubber gasket. The better way is a 50/50 split. If you’re worried about the scent, a tablespoon of citric acid powder dissolved in a full tank works even better. Run the brew cycle halfway, then hit the ‘pause’ button on your app or the physical machine. You want that solution to sit inside the heating element for at least thirty minutes. This is exactly like the patience required when you need to fix a dishwasher that won’t drain completely; you have to give the active agents time to break down the physical blockage at a molecular level.
Protect Your Seals and Sensors
While the solution sits, take a damp microfiber cloth and wipe down the exterior surfaces. If you have a sleek modern kitchen, knowing the best way to clean the outside of a black stainless steel fridge or your brewer’s finish prevents permanent staining from accidental acidic runoff. The real danger during this ‘soak phase’ is the internal gaskets. In my old appliances, I never worried about seals, but deep cleaning the gasket on your dishwasher or your smart coffee machine is vital because vinegar can dry out the rubber over time, leading to leaks. If your machine allows it, run a dedicated ‘clean’ cycle. These cycles are programmed to pulse the water through the system, which helps knock the loosened flakes of calcium loose without clogging the tiny exit needles. This pulsing action is like a power-washer compared to a standard garden hose.
The Rinse Cycle You Can’t Skip
After the soak is done, finish the cycle and dump the murky, grey water. It’s tempting to start brewing your favorite beans immediately, but those leftover acids will ruin your morning roast and potentially confuse your machine’s internal sensors. This is the same reason your high-efficiency washer leaves white streaks on dark clothes—residue is the enemy of performance. Run at least three full cycles of plain, filtered water through the machine. Last summer, I tried to speed-run the descaling process on my smart fridge’s water line. I skipped the final three rinse cycles because I was late for a meeting. That night, every single ice cube tasted like a pickled onion. It took forty-eight hours of constant purging to get that sharp tang out of the line. If your machine has a persistent ‘descale’ notification, you may need to manually reset the maintenance timer in the app settings, as some sensors won’t acknowledge the clean status until the software is refreshed.It’s easy to think that once you’ve mastered a basic descaling routine, you’re in the clear. But here is where most people get it wrong: they assume that ‘Smart’ or ‘Eco’ modes are a magic bullet for appliance longevity. In my years of testing everything from Wi-Fi-connected fridges to AI-driven laundry centers, I’ve discovered a frustrating paradox. We are often killing our machines by trying to be too efficient. Most users believe that running every cycle on the lowest temperature or the shortest duration saves the hardware. In reality, it’s often the opposite. Low-heat cycles in modern dishwashers struggle to break down animal fats and complex proteins, leading to a nasty buildup in the pump that eventually requires you to manually drain a dishwasher when the pump fails.
Is your ‘All-in-One’ detergent pod actually ruining your rinse cycle?
Many advanced readers ask if those convenient 3-in-1 pods eliminate the need for extra maintenance. The short answer is no. This is a classic ‘trap’ for the modern homeowner. While the pods are convenient, they often release their agents at the wrong time for your specific water hardness. This is why your dishwasher still needs rinse aid even with 3-in-1 tablets to properly break surface tension and prevent spots. If you ignore the rinse aid dispenser because the pod packaging promised ‘total care,’ you’re likely forcing your machine’s heating element to run longer during the drying phase, which shortens its lifespan significantly.
Stop Overdosing Your High-Efficiency Washer
The biggest mistake I see with smart laundry tech is ‘detergent creep.’ Because the machines use so little water, even a tiny bit of extra soap creates a mountain of suds that the sensors can’t always calculate correctly. According to a study by the Association of Home Appliance Manufacturers (AHAM), excessive suds can actually act as a cushion, preventing the clothes from rubbing against each other, which means they come out less clean than if you had used half the soap. This is the primary reason why your washer doesn’t need a whole cup of detergent to get clothes clean. 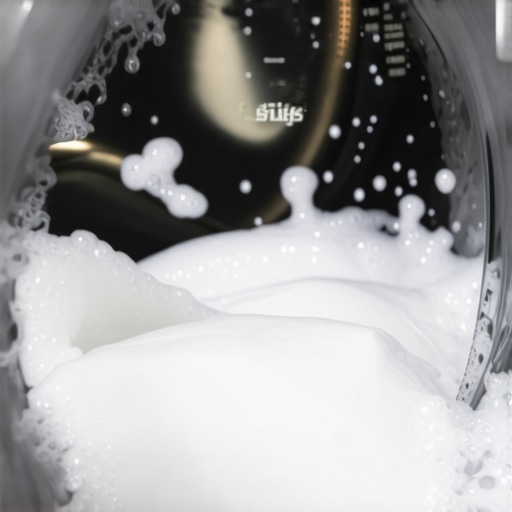
The Hidden Gunk in Your ‘Self-Cleaning’ Tech
Don’t be fooled by a ‘self-clean’ button. I once relied solely on my washer’s self-clean cycle for six months without ever checking the manual filter. The result? A flood in my laundry room because of a stray dime and a layer of lint that looked like felt. You still have to clean the lint filter you didn’t know your washer had at least once a quarter. Similarly, if you have a high-tech fridge, it might be telling you the air filter is fine while the coils are choking on pet hair. If you notice a change in performance, learning how to clean the hidden debris under your refrigerator grille can save your compressor from a multi-thousand-dollar burnout. Have you ever fallen into this trap of trusting the ‘smart’ settings too much? Let me know in the comments! If you’re just starting your journey into high-tech living, checking out an ultimate guide to smart home appliances for a modern living can help you set a maintenance schedule that actually works.I’ve realized that being a ‘smart’ homeowner means knowing when to put the phone down and pick up a screwdriver. Software updates are great for security and feature parity, but they won’t clear a physical blockage in your plumbing or dust out a motor. One tool I absolutely swear by is a simple $15 flexible coil brush. It’s low-tech, but it’s the only thing that can reach the dark recesses behind the unit where the real hardware damage happens. If you haven’t yet, you need to learn how to clean the hidden debris under your refrigerator grille because that’s where your compressor’s life is decided. This small physical chore prevents the machine from overworking to compensate for poor airflow. 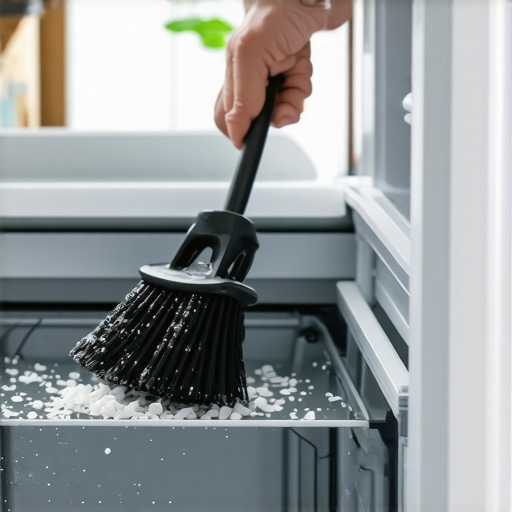
How do I maintain my smart appliances over time?
The secret isn’t in a one-off deep clean; it’s in a recurring digital and physical audit. Every quarter, I go through what I call a ‘hardware-software sync.’ First, I check the manufacturer’s portal for firmware updates to ensure the energy-saving algorithms are actually current. Then, I move to the physical high-wear areas. For example, finding the secret drain filter at the bottom of your fridge you never knew existed can prevent a literal flood on your hardwood floors and save you an emergency plumbing bill. I also highly recommend using a standalone digital thermometer to cross-reference what your app says. I’ve seen many cases where an internal sensor drifts by three or four degrees due to scale buildup, leading to food spoilage despite a ‘Green’ status on your phone. You can easily calibrate your refrigerator thermometer without calling a pro to verify everything is actually as cold as it should be. According to the Association of Home Appliance Manufacturers (AHAM) Maintenance Standards, neglecting these physical checks is one of the top 5 mistakes that are shortening the life of your smart refrigerator.
Get Ready for Predictive AI Diagnostics
Looking ahead, the manual maintenance part of our lives is about to get a lot easier. I’m already seeing prototypes for refrigerators in 2025 that use acoustic sensors to ‘hear’ when a bearing is starting to fail or a pump is struggling before the hardware actually breaks. This shift toward predictive maintenance means your fridge will likely order its own replacement parts before you even notice a problem. But until those become the standard in every home, you remain the first line of defense. My final piece of advice? Don’t just trust the ‘Auto’ cycle on your dishwasher or washer every single time. Every tenth load, run a ‘Sanitize’ or ‘Heavy Duty’ cycle with a dedicated cleaning agent. This high-heat blast clears out the residual bio-film and fatty deposits that low-temp ‘Eco’ modes leave behind. It’s the simplest way to prevent the dreaded damp-locker-room odor and keep your pumps clear. Try this today: go to your fridge, pull off the bottom grille, and see if it’s dusty. If it is, you’ve just found your first maintenance project that will save you hundreds in energy bills.
The Hardest Lessons from My Appliance Repair Graveyard
After years of testing and, frankly, breaking high-end gear, I’ve realized that owning high-tech hardware requires a shift in mindset. It’s not just about setting a schedule in an app; it’s about becoming a partner to your machines. Here is what I’ve learned the hard way: sensors are only as smart as their environment. If your fridge is struggling, don’t trust the app’s ‘All Systems Go’ status blindly. I always recommend that you calibrate your refrigerator thermometer without calling a pro to verify the real numbers. Also, the ‘Eco’ trap is real. While saving energy is great, exclusive use of low-heat cycles allows grease and biofilm to solidify in areas the sensors can’t see. Physical blockages bypass software logic every time; no firmware update can fix a clogged filter. You absolutely must clean the lint filter you didn’t know your washer had to prevent pump burnout before the software even registers a flow issue.
The Maintenance Kit I Actually Use
I don’t believe in buying every branded cleaning solution, but I do swear by a few specific items that have saved me thousands in repair bills. First, a flexible condenser coil brush is essential for reaching those dusty areas; knowing how to clean the hidden debris under your refrigerator grille with one of these can extend your compressor’s life by years. #IMAGE_PLACEHOLDER_E# Second, I keep a bulk bag of food-grade citric acid. It’s more effective than vinegar for descaling and doesn’t leave that lingering scent in your morning brew. Finally, I always keep the original PDF manuals in a cloud folder on my phone. When a manually drain a dishwasher when the pump fails situation occurs, you don’t want to be hunting for a paper booklet in the middle of a kitchen flood. These simple tools are the bridge between a broken machine and a decades-long investment.
Your Roadmap to a Stress-Free Smart Home
Taking care of your home shouldn’t feel like a second job. It’s about small, consistent wins that prevent massive, expensive headaches down the road. By spending just fifteen minutes a month on physical checks, you ensure your smart appliances actually deliver on their promise of convenience. You’ve invested in this technology to make your life easier—now, a little bit of proactive care will make sure it stays that way for the long haul. Don’t wait for an error code to pop up on your phone. Take a quick look at your fridge coils or your dishwasher filter today and see what your sensors might be missing. When you treat your hardware with respect, the software usually takes care of itself.
Have you ever found a ‘secret’ filter or a hidden maintenance setting that completely changed how your machine performed? Let me know in the comments below!