
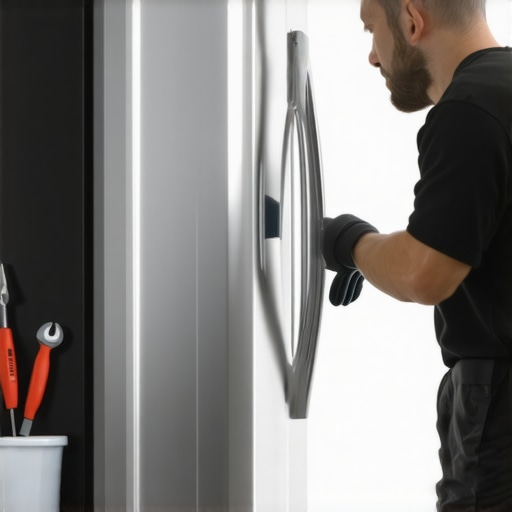
It was late at night, and I was finally settling in with a cold glass of water when that unmistakable, ear-splitting hum from my refrigerator shattered the quiet. I had always thought of my fridge as a silent workhorse — reliable, steady, almost unnoticed. But suddenly, it sounded like a jet engine warming up in my kitchen. Frustration crept in. Why was my fridge making this loud noise? And more importantly, what could I do about it? If you’ve ever been jolted awake by that relentless humming, you know how disruptive it can be. Today, I’m here to help you silence that racket once and for all. We’ll explore practical, easy-to-follow steps to identify and fix the root causes of loud refrigerator noises, ensuring your kitchen stays peaceful and your appliance runs smoothly.
Why Your Refrigerator’s Loud Hum Is More Than Just Annoying
Identify the Source of the Noise
Begin by listening carefully to determine where the sound is coming from. Is it coming from the compressor, fan, or defrost heater? Use a towel or soft object to gently feel the area—this helps pinpoint vibrations without risking shock. Remember, just like a noisy washing machine, a loud fridge often has a specific culprit, and isolating it makes fixing easier.
Check and Clear the Condenser Fan
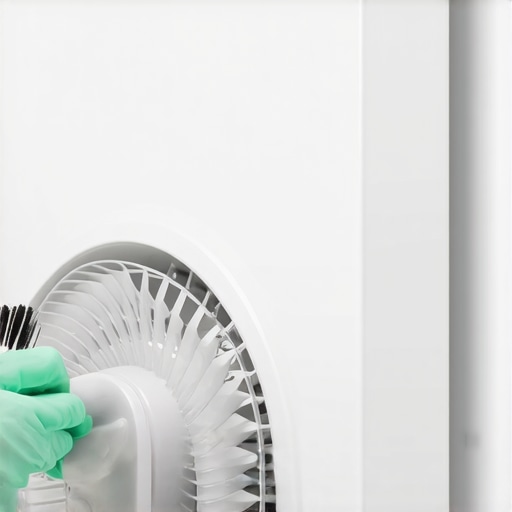
Locate the condenser fan—usually at the back or bottom of your fridge. Unplug the appliance for safety. Remove the cover, and inspect for dust, ice buildup, or debris. Use a soft brush or vacuum with a brush attachment to clean the blades thoroughly. If the fan blades are hitting ice or dust, it will rattle or produce noise. Clearing these obstructions often reduces the hum significantly. This is similar to cleaning the dust off washer coils, which helps improve efficiency.
Ensure Proper Fan Operation
Turn the fan blades manually to see if they spin freely. If they resist or wobble, the motor may be failing. In such cases, replacing the fan motor can restore quiet operation. Note that a faulty fan also causes the compressor to work harder, increasing noise and energy consumption. For more tips on optimizing your appliance’s performance, visit our refrigerator upgrade guide.
Inspect the Compressor and Vibration Pads
The compressor is the heart of your fridge’s cooling system. If it’s loose or defective, it can produce loud noises. Carefully examine if the compressor is securely mounted; tighten any loose screws. Additionally, check the vibration pads or rubber mounts beneath the compressor and fridge feet. Replacing worn pads or adjusting the leveling of your unit, as described in leveling your appliances, can dampen excess vibrations and sound.
Assess the Defrost Heater and Timer
Sometimes, a malfunctioning defrost heater or timer causes odd noises during operation. If you hear clicking or humming at inconsistent times, turn off the fridge and inspect these components. Replacing faulty defrost parts requires some technical skill but is often straightforward—refer to the service manual or consult a professional. This step is crucial as persistent noise from these parts might indicate imminent failure, leading to larger repairs if ignored.
Perform Routine Maintenance
Regularly clean dust from the condenser coils with a coil brush or vacuum—it’s a common cause of overheating and loud operation. Additionally, ensure that the fridge isn’t overloaded, as excessive weight strains the compressor and fans. Keeping the vents clear and the interior organized reduces strain, much like organizing a washing machine drum to prevent imbalance and noise, as discussed in organizing fridge essentials.
Many homeowners believe that all smart appliances are designed equally, but in my experience, this couldn’t be further from the truth. A common misconception is that newer models with fancy features automatically mean better performance or energy savings. However, some advanced settings, such as the eco modes on high-efficiency washers, might actually reduce cleaning effectiveness if misused, as outlined in [expert advice on water-saving](https://smartappliancereview.com/washing-machines-that-save-water-expert-advice-for-2025). Additionally, a frequent trap is assuming that connected appliances are maintenance-free—nothing could be further from reality. For example, smart dishwashers equipped with AI technology can alert you to filter cleanings but often tempt users to ignore these alerts, leading to clogs and poor washing results, detailed in [how smart dishwashers work](https://smartappliancereview.com/innovative-dishwashers-with-ai-technology-you-must-know). Advanced users should understand that firmware updates, while seemingly routine, can sometimes introduce bugs or reset custom settings, making it essential to stay informed through official updates like those discussed in [updating smart appliances](https://smartappliancereview.com/how-to-update-the-software-on-your-smart-refrigerator-without-fail-2).Maintaining your smart appliances over time requires the right tools and a systematic approach. I personally recommend investing in a high-quality digital multimeter, such as the Fluke 116, because it allows precise diagnostics of electrical components like sensors and motors, helping you identify issues before they escalate. Additionally, a reliable ultrasonic cleaner can be invaluable for deep-cleaning filter units or intricate parts that accumulate grime, ensuring optimal functioning of devices like dishwashers and refrigerators. Keeping a set of precision screwdrivers and a small can of contact cleaner enhances your ability to perform minor repairs and maintenance without calling in professionals. Regular firmware updates via manufacturer software—like the [smart appliance management apps](https://smartappliancereview.com/ultimate-guide-to-smart-home-appliances-for-a-modern-living)—also play a crucial role in security, compatibility, and unlocking new features. These updates often include performance improvements that can extend the lifespan of your devices.
Predictively, as smart home ecosystems evolve, we’ll see a move toward integrated diagnostic tools that automatically alert users about potential failures before they happen, aided by AI and IoT connectivity. This proactive approach minimizes down-time and repair costs, making maintenance more about prevention than reaction.
For example, some advanced models now incorporate self-diagnostic systems that can be accessed through dedicated apps or control panels. By familiarizing yourself with these features, you can schedule maintenance routines more effectively.
So, how do you maintain your appliances over time? Establishing a regular check-point schedule—combined with the use of specialized tools like infrared thermometers to monitor component temperatures—can significantly improve longevity. Don’t forget to consult the manufacturer’s guidelines for specific maintenance intervals and procedures.
A proactive attitude includes performing routine inspections of door seals and cleaning condenser coils, which, as outlined in [refrigerator maintenance manual](https://smartappliancereview.com/why-your-smart-fridge-can-not-recognize-your-milk-carton), are essential for energy efficiency and preventing breakdowns. I challenge you to try using your multimeter to test the compressor’s electrical connections this week—it’s simple and can provide peace of mind, knowing your appliance runs efficiently for years to come.
Lessons Hidden Beneath the Surface of Appliance Maintenance
- One of my biggest surprises was realizing that even the most advanced smart appliances require regular, hands-on attention. They aren’t set-it-and-forget-it devices. A simple routine check, like inspecting the condenser coils or cleaning the door seals, dramatically extended their lifespan and kept noise levels in check.
- I used to assume that a high-tech, connected fridge wouldn’t need manual maintenance. That’s a misconception I quickly discarded after experiencing funny noises that could have been prevented with a firmware update or a quick coil clean. Smart features are helpful, but they don’t replace good old-fashioned upkeep.
- The biggest lightbulb moment came when I understood vibrations are often the root of loud noises. Proper leveling and the use of vibration dampers transformed the kitchen ambiance from noisy to peaceful. This simple fix taught me how physics plays a subtle yet vital role in appliance quietness.
Tools and Tips That Changed My Approach
- Investing in a reliable digital multimeter was a game-changer. It allowed me to troubleshoot electrical issues with confidence, catching potential problems before they caused noise or breakdowns. I recommend the Fluke 116 for its accuracy and ease of use.
- Using an ultrasonic cleaner for parts like filters and coils made a visible difference. It kept my appliances running efficiently and quietly, saving both time and money. As someone who loves DIY solutions, this was one of the best additions to my toolkit.
- Staying informed through dedicated resources like the Ultimate Guide to Smart Home Appliances empowered me to perform firmware updates and understand new features better, making my appliances smarter and quieter.
Your Next Step Towards Peaceful Living
Taking control of your home appliances by understanding their quirks and maintenance needs is incredibly rewarding. With a bit of knowledge and the right tools, you can transform a noisy, frustrating environment into a calm, efficient space. Remember, smart appliances are allies when properly cared for—and quiet nights are just a few simple steps away. Dive in, take charge, and enjoy the tranquility you deserve.
What’s the first appliance you plan to give a little extra attention to? Drop your thoughts below, and let’s share tips on keeping our homes peace and quiet.