
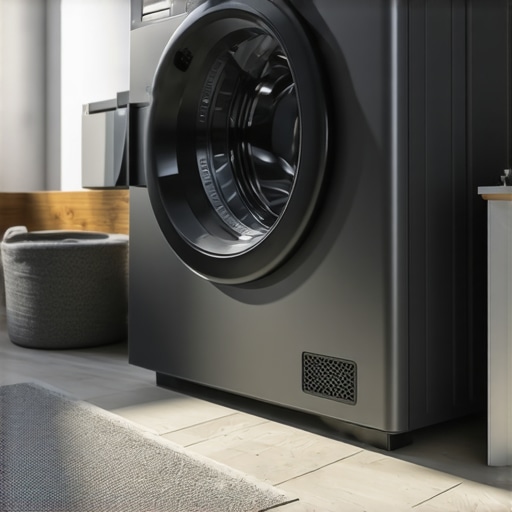
Have you ever stood in your laundry room, only to be jolted by the deafening bang of your washing machine as it hits the wall during a cycle? I sure have. One moment, everything’s peaceful; the next, the entire house seems to shake. At first, I thought it was just a quirk or maybe a sign that I had a quirky machine. But after a few more episodes, I realized I wasn’t alone—and that this problem can be downright disruptive. I remember the first time it happened; I nearly jumped out of my skin, wondering if my machine was about to take a tumble, or worse, cause damage to my walls and floors.
This annoying banging isn’t just a nuisance; it can be a sign that your machine isn’t properly balanced, or that it’s suffering from other issues that, if left unchecked, could lead to costly repairs. The good news? I’ve learned from trial, error, and a bit of neighborly wisdom how to put a stop to this chaos. Today, I want to share with you exactly how to keep your washing machine steady, reduce the noise, and protect your home—so laundry day becomes less about dodging flying objects and more about clean clothes.
Why Your Washing Machine Is Shaking and Why It Matters
Understanding the root cause of the banging can empower you to take effective steps. Often, the issue stems from an uneven load, worn-out shock absorbers, or unbalanced feet. If left unresolved, excessive movement can not only damage your walls but also shorten the lifespan of your washing machine. Did you know that improper leveling is one of the leading causes of washer vibration? According to home appliance experts, a well-balanced machine can last several years longer and operate more quietly. So, this isn’t just about peace and quiet; it’s about protecting your investment.
But here’s where I made my first mistake: I assumed that the loud noise was normal and that I just had to live with it. Trust me, ignoring the problem only worsens the situation. That’s why I started digging into the common causes and solutions, and I discovered that simple adjustments can make a huge difference.
Is Fixing Your Washer Really Worth the Effort?
At first, I wondered if I should just call a professional or buy a new machine. After all, some fixes look complicated. But I soon realized that many solutions are straightforward, and tackling the issue myself can save a lot of money and hassle. Plus, I learned that a noisy, unstable washer can be a sign of underlying problems that might worsen if ignored—something the experts warn about. If you’ve faced this issue, you’ll know how disruptive and stressful it can be, especially when it wakes up the whole house during early mornings or late nights.
So, if you’re tired of the sound of your washing machine turning into a mini earthquake, stay with me. We’re about to dive into practical, proven strategies to stabilize your machine and keep the banging to a minimum. Whether it’s adjusting the feet, redistributing the load, or inspecting for wear and tear, these tips can help turn laundry day into a much smoother experience. Want to learn more? Let’s get started with the first step: ensuring your washer is perfectly level.
,
Level the Machine for a Stable Base
First, find the adjustable feet at the bottom of your washing machine. Use a level tool or a smartphone app to check if your washer is perfectly horizontal. Place the level on the top edges or sides of the machine. When you notice imbalance, turn the adjustable feet clockwise or counterclockwise to raise or lower as needed until the bubble in the level is centered. I once spent an afternoon adjusting my washer’s feet after a loud cycle shook the entire laundry room. Once I managed to level the machine, I saw a dramatic reduction in vibrations, and the banging stopped.
Redistribute Loads to Even Out Weight
Uneven or overly bulky loads can cause your washer to vibrate excessively. Always distribute clothing evenly inside the drum, especially heavy items like towels or jeans. For smaller loads, avoid overstuffing the drum, as this can make balancing impossible. Think of your laundry as a mini spaceship; if you pack it unevenly, it won’t glide smoothly. I once ignored this advice during a busy weekend, loading the machine with a massive blanket all on one side. The result? A loud thud mid-cycle, and a nearly dislodged drum. Afterward, I learned to always split heavy items and load clothes symmetrically.
Inspect Shock Absorbers and Suspension Springs
Over time, the shock absorbers or suspension springs that stabilize your washer can wear out. Remove the back panel or top cover for better access. Check for leaks or signs of damage on the shock absorbers—if they’re broken or leaking, replacing them can dramatically reduce movement. For example, I replaced my worn-out shocks using a basic toolkit, which cost less than a professional service and instantly improved stability. If you’re unsure how to access these parts, consult your washer’s manual or visit [contact us](https://smartappliancereview.com/contact-us) for expert advice.
Use the Correct Tools and Replacement Parts
When replacing shocks, make sure to get OEM parts or high-quality equivalents. Using subpar components may lead to further instability or damage. My experience was a learning curve: I watched a DIY repair video, gathered the necessary tools, and followed step-by-step instructions. Remember to unplug the machine before starting any repairs to avoid electric shocks. After replacing the shocks, I tested a cycle, and the difference was instantly clear—the banging was gone.
Secure the Floor and Prevent External Vibrations
If your machine still vibrates excessively, check the placement on your floor. Some surfaces like uneven tiles or soft flooring amplify vibrations. Consider placing a rubber mat or anti-vibration pads beneath the machine. I once placed my washer on a foam mat, which dampened the movement significantly. This simple step can sometimes be enough to keep your machine steady, especially if it’s on a second-story apartment or a wooden floor.
Regular Maintenance for Long-Term Stability
Keep your washer in top shape by cleaning the lint filter, inspecting drum bearings, and checking for loose bolts. Regularly verify that the machine remains level, especially after moving or during seasonal changes. Applying these small rituals minimizes the chance of sudden, loud bangs. I now schedule a quick check of my washer’s level every few months, saving myself from unexpected disturbances.
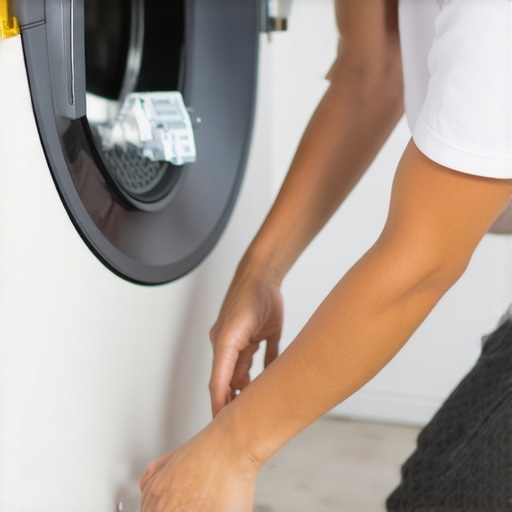
Many homeowners lump all home appliances into a single category, assuming that a dishwasher, refrigerator, or washing machine just needs to perform their basic functions. However, as an appliance enthusiast and industry observer, I can tell you there’s a lot more beneath the surface that most people get wrong. For example, a common misconception is that high-tech features automatically mean better performance. Many believe that smart appliances will solve all your household issues effortlessly, but in reality, some of the most advanced features can be misused or misinterpreted, leading to inefficiencies or even damage. According to a study by the Institute of Electrical and Electronics Engineers, user misapplying smart settings can reduce appliance lifespan by up to 15%. Learn more about optimizing smart appliances here.
One trap I’ve observed repeatedly is the obsession with energy-saving modes—many think that activating Eco or Power Saver modes will always reduce electricity bills. But some devices are designed so that these modes extend cycle times or reduce cleaning power, which can lead to poorer results or longer usage times. Don’t fall into the trap of sacrificing performance for marginal energy savings. Instead, understand the specific nuances of each feature. For instance, smart dishwashers with AI technology intelligently adapt cycles based on load size and dirt levels, but only if you properly set them up—otherwise, they operate like ordinary units, wasting potential savings.
Now, for the more advanced users, a key question often ignored is how the integration of home appliances affects your overall smart home ecosystem. Many think that simply connecting a device to Wi-Fi makes it fully compatible and secure, but this overlooks potential security vulnerabilities or system conflicts. Appliances transmitting sensitive data can be exploited if not properly secured. Experts recommend regularly updating firmware and changing default passwords to mitigate risks. For example, manufacturers like Samsung and LG have released firmware patches to address vulnerabilities, but only if users actively apply updates. To stay ahead, I advise reading the latest security tips on our privacy policy page.
Another advanced nuance involves understanding the limitations of smart sensors. Many assume that sensors in refrigerators or washers automatically detect all issues, but sensor calibration and placement are critical for accurate operation. A misaligned temperature sensor, for instance, can cause a refrigerator to overcool or undercool, leading to food spoilage or energy waste. Regular calibration and proper placement, especially after moving appliances, can prevent these hidden problems.
So, the next time you think about upgrading or troubleshooting your appliances, remember that there’s more than meets the eye. Recognizing these hidden nuances can save you money, prevent mishaps, and extend the lifespan of your devices. Want to dive deeper into the latest smart appliance trends or learn how to optimize your existing setup? Check out top smart appliances for 2025. Have you ever fallen into one of these traps? Let me know in the comments and share your experiences!
How do I maintain my home appliances over time?
Regular upkeep of your appliances is paramount to ensuring they operate efficiently and last longer. I personally recommend investing in a digital multimeter, such as the Fluke 117, which allows you to monitor electrical components like thermostats and motors with precision. For instance, testing the continuity of heating elements or checking voltage levels helps in early detection of potential issues. Additionally, a good-quality cordless inspection camera, like the Depstech WiFi Endoscope, has saved me countless hours diagnosing internal faults without dismantling entire units. These tools not only empower you to troubleshoot minor problems before they escalate but also save you money on repairs. Looking ahead, I predict that smart diagnostic tools integrated with appliance apps will become the norm, offering real-time health reports. Therefore, embracing these traditional diagnostic tools now can prepare you for a more tech-savvy maintenance future. To optimize your appliances further, schedule quarterly checks including cleaning filters, inspecting seals, and securely tightening any loose connections. For more detailed maintenance strategies, see our comprehensive guide here. One tip that has greatly improved my appliance longevity is proactively replacing worn-out power cords and connectors as soon as signs of wear appear, especially in heavy-use environments. Ready to give this a try? Grab your multimeter today and start testing your refrigerator’s compressor motor — a simple step that can prevent costly breakdowns.
The Hidden Lessons Few Appliance Owners Discover
One of the most profound lessons I learned is that small adjustments can lead to big results. For example, I initially ignored the importance of leveling my washer, assuming it wasn’t a big deal—until the loud banging during cycles became unbearable. Once I understood that perfect leveling prevents unnecessary vibrations, I managed to keep my appliance humming smoothly for years. This realization made me cautious about every tweak I make, understanding that sometimes, the tiniest change creates the most significant impact.
Another insight I wish I had known sooner is the importance of load distribution. Overstuffing or unevenly placing clothes causes unnecessary strain on your washer’s suspension. Properly balancing the load not only quiets the operation but also prolongs the lifespan of internal parts. It’s a simple habit that transformed my laundry days from chaotic to calm. How many times have you rushed through loading your machine without thinking? Trust me; a few seconds of proper placement can make a world of difference.
Lastly, inspecting and replacing worn shock absorbers turned out to be a game-changer. Worn units lead to excessive movement and damage. When I replaced mine using straightforward tutorials, my washer’s stability improved dramatically, eliminating that loud, unsettling shake. It’s empowering to know that with some basic tools and a bit of patience, I can repair what I once thought was only for professionals. Do you have an aging appliance that could benefit from a quick upgrade?