
I remember the exact moment I realized I was a dish-loading disaster. It was after a long Sunday dinner, and I was so exhausted that I just crammed everything—pots, pans, and delicate wine glasses—into the bottom rack like I was playing a high-stakes game of Tetris. The next morning, I opened the door to a soggy, greasy nightmare. My clean plates were covered in a gritty film, and the glasses looked like they’d been washed in a swamp. It wasn’t the machine’s fault; it was mine. I had nested my spoons like they were cuddling, and—surprise, surprise—the inner ones were still covered in peanut butter. We often treat our dishwashers like magic boxes where dirt just vanishes, but the truth is, if you don’t respect the spray arms, you’re just wasting your time and your water bill. Today, I’m going to share exactly how I transformed my kitchen routine from double-washing frustration to sparkling success.
Stop Treating Your Bottom Rack Like a Junk Drawer
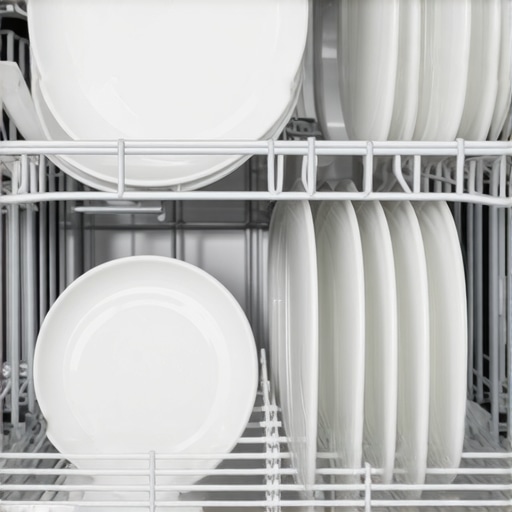
[image]The bottom rack is the engine room of your dishwasher. It’s where the high-pressure water and intense heat do the heavy lifting. I used to make the amateur mistake of laying large cookie sheets right in front of the detergent dispenser. I couldn’t figure out why my dishwasher pod wasn’t dissolving completely until I realized the door was literally being held shut by a baking pan. Now, I always place those tall items on the far sides or the very back. You have to ensure the spray arm in the center can rotate freely without hitting a stray spatula or a low-hanging ladle. If you’ve been wondering why your dishwasher isn’t cleaning the top rack properly, it’s often because the water can’t even get past the chaos on the bottom level. Think of it like a fountain; if you block the base, the top stays dry and dirty. I also learned the hard way to face everything toward the center because that is where the spray is most concentrated. Even using the best energy efficient settings for your new dishwasher won’t save you if the water is just hitting the back of a bowl instead of the soiled inside. According to research from the University of Birmingham, the most effective cleaning occurs when dishes are arranged to follow the circular path of the spray arms, allowing water to reach every surface. Have you ever had to re-run a whole cycle just because one giant pot blocked the flow?
Is This Meticulous Stacking Actually Worth the Extra Effort?
It’s natural to be skeptical. We want our appliances to work for us, not the other way around. You might worry that being careful about where every fork goes will turn a five-minute chore into a ten-minute project. But I promise you, the neighborly truth is that it actually saves you time in the long run. When you stack correctly the first time, you eliminate the need for hand-scrubbing those stubborn, stuck-on bits later. You’re not just cleaning plates; you’re protecting your machine from the gunk that builds up when cycles fail to drain properly. It is all about working smarter, not harder, so you can get out of the kitchen and back to your evening.
Master the Logic of the Upper Basket
The top rack is designed for your more delicate items—glasses, cups, and those smaller bowls that don’t need the brute force of the bottom spray arm. Think of the top rack as the ‘gentle cycle’ zone of the machine’s physical layout. I used to just toss things in wherever they fit, which led to my infamous ‘Tupperware Launchpad’ incident. I had placed a light plastic lid loosely on the top, and halfway through the cycle, the water pressure flipped it over. It spent the rest of the hour acting as a bucket, catching all the dirty runoff and preventing the spray from reaching the glasses around it. Now, I make sure every lightweight item is tucked firmly under a tine or secured by the fold-down shelves. If your machine has one, the truth about third racks is that they are game-changers for these flat, light items, keeping them pinned down so they actually get sanitized.
Stop Your Tubs from Flipping and Filling with Water
Nothing ruins a post-dinner cleanup like pulling out a plastic container filled with a pint of murky, lukewarm dishwasher water. This happens because plastics are light and the water jets are powerful. To prevent this, angle your plastics at a steep slope so the water can’t pool on the concave bottoms. If you are struggling with moisture even after a full cycle, learning how to get your dishwasher to finally dry your plastic tubs often comes down to a combination of strategic angling and the right drying agents. I’ve found that placing them between the tines rather than over them provides the most stability during the high-pressure rinse phase.
End the Silverware Cuddle Puddle
We’ve all done it: we drop the spoons into the basket and let them ‘nest’ together like they’re trying to stay warm. When spoons spoon, the water never reaches the inner surfaces. This is exactly how I ended up with dried cereal on my ‘clean’ cutlery for years. The fix is simple but requires a second of mindfulness: alternate the direction of your silverware. Put some handles up and some handles down. This creates gaps that allow the water to circulate freely. 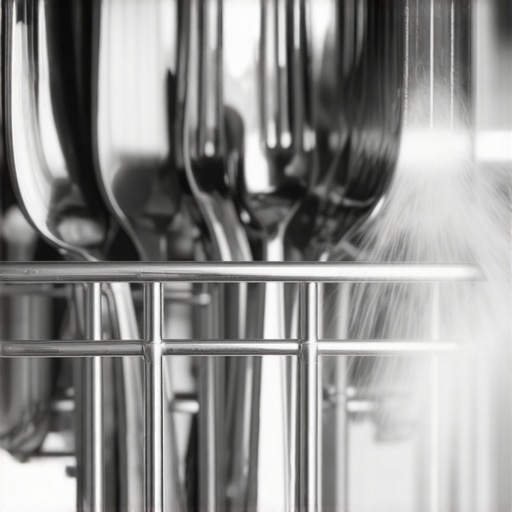 For forks and knives, I prefer handles up for safety when unloading, but for spoons, variety is the key to cleanliness. If you have a large family, you might even consider the best dishwashers for large families and constant loads, which often feature specialized spray jets just for the cutlery basket.
The Chemistry of a Streak-Free Finish
Loading is 80% of the battle, but the liquid you use is the remaining 20%. I used to think rinse aid was just a marketing gimmick to get me to spend more money. I was wrong. Rinse aid reduces the surface tension of the water, essentially making it ‘thinner’ so it sheets off your dishes rather than forming droplets. This is why why your dishwasher still needs rinse aid even with 3-in-1 tablets; those tablets release their ingredients at different times, and the drying agent in the pod often isn’t enough for the final rinse. Without it, you’ll likely see spots, especially if you have hard water.
Match Your Detergent to Your Local Water
If you live in an area with heavy mineral content, your detergent has to fight the water before it can even start on the grease. I struggled with a white, chalky film on my plates until I switched to the best detergent for hard water that wont kill your dishwasher. High-quality detergents contain ‘chelating agents’ that bind to minerals like calcium and magnesium, allowing the cleaning agents to focus on the food particles. It’s a small adjustment that makes a massive difference in the clarity of your glassware.We often assume that because we paid extra for ‘smart’ features, we can stop thinking. Everyone says these machines are autonomous, but in my experience, the AI is only as good as the data it gets from your messy reality. The biggest mistake I see—and I have made it myself—is blindly trusting the ‘Auto’ or ‘Sensor’ cycle for every load. These sensors usually measure turbidity, or the cloudiness of the water, but they can’t see the burnt-on cheese hidden at the back of a plate. If you find your dishwasher pod isn’t dissolving completely, it might be because the sensors triggered a shorter cycle than what you actually needed based on a false reading of the water clarity.
Why Does Your Smart Washer Still Think It’s Empty?
Advanced sensors in modern washing machines use weight and moisture levels to determine water usage. However, if your machine isn’t level or if you’re washing a single, heavy item like a duvet, the sensors get confused. Research by the American Council for an Energy-Efficient Economy (ACEEE) suggests that while smart appliances offer huge potential for savings, improper user interaction can actually negate the efficiency gains by up to 15% due to the ‘rebound effect’ where we wash more often simply because it is easier. This is the ‘trap’ of smart tech: it requires a human to set the stage. You need to know how to calibrate your smart oven or washer to ensure the ‘intelligence’ matches your actual home environment. 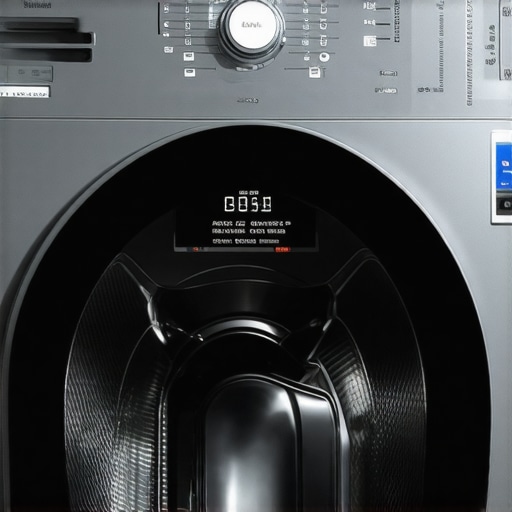
Stop Feeding Your Machine Too Much Soap
There is a pervasive myth that more soap equals cleaner clothes, especially in high-efficiency (HE) machines. This is a fast track to disaster. Over-sudsing creates a ‘cushion’ that prevents clothes from rubbing against each other—which is how they actually get clean—and it leads to mold in the gasket. I finally learned that why your washer doesn’t need a whole cup of detergent is because modern formulas are incredibly concentrated. Using too much is one of those 5 mistakes that are shortening the life of your smart refrigerator or washer by gunking up internal sensors and pumps with chemical residue.
Unlock the Efficiency You Actually Paid For
The real nuance lies in the digital backend. Most people never touch their app settings after the initial setup, missing out on the hidden settings on your fridge that can save you money on your utility bill. These machines are designed for the ‘average’ user, but your water hardness and loading habits are unique. Have you ever fallen into the trap of letting the machine make all the decisions, only to be disappointed by the results? Let me know in the comments.
Use Your Phone to Predict a Breakdown
I’ve spent a small fortune on smart gadgets over the years, and I refuse to let a $50 part brick a $3,000 machine. My most-used tool for maintenance isn’t a wrench or a screwdriver; it is actually a simple smart power monitor. I keep mine plugged into my refrigerator to watch for unusual power spikes or cycles that last too long. If I see the compressor running for four hours straight without a door opening, I know I’ve ignored the hidden settings on your fridge that can save you money and likely have a dust problem building up underneath. Most people wait for the touch screen to flash an ominous error code, but by then, the internal components have already been strained. Being proactive with power data allows you to catch friction in a pump or a failing fan before it becomes a service call.
Give Your Coils Some Breathing Room
Every three months, I make it a point to pull my fridge away from the wall and deal with the ‘dust bunnies of doom’ that congregate near the motor. I personally use a flexible crevice tool attached to my vacuum because learning how to clean the hidden debris under your refrigerator grille is the single most effective way to prevent a compressor burnout. While you are down there, you should also look for the secret drain filter at the bottom of your fridge. It is a magnet for slime and bio-film that eventually blocks the drainage system, leading to that annoying puddle of water on your kitchen floor that everyone blames on a ‘leak.’
#IMAGE_PLACE_HOLDER_D#
How do I maintain my smart kitchen ecosystem over time?
The key to longevity is a deliberate mix of digital calibration and old-school physical upkeep. I set a recurring calendar alert every six months to check how to calibrate your refrigerator thermometer without calling a pro. Digital sensors can drift over time due to humidity or power surges, and a mere 2-degree difference can be the margin between keeping your leafy greens crisp and finding a frozen mess in the crisper drawer. This physical verification ensures the digital readout on your door isn’t lying to you. Furthermore, the secret to making your refrigerator last twice as long often comes down to the condition of your door seals. I use a simple mixture of warm water and mild dish soap—never harsh chemicals—to keep the rubber gaskets supple so the motor doesn’t have to overwork to maintain a vacuum-tight chill.
The Next Decade of Kitchen Tech
I truly believe the future of home appliances will move toward truly self-healing systems. A 2023 study published in the Journal of Cleaner Production suggests that as IoT integration matures, the next generation of machines will use advanced vibration analysis to predict motor failure months in advance. We are moving toward a world where your dishwasher will autonomously order its own replacement drainage pump before the current one even starts to leak. Until that level of automation is standard, we remain the stewards of our machines. If your device is already acting up, don’t panic. Sometimes it is just a minor software glitch that a power cycle can fix. I have saved myself hundreds of dollars in service fees by knowing the 5 minute fix for a dishwasher that wont start its cycle before calling a technician. My challenge to you today: go pull the kickplate off your fridge and vacuum those coils. It takes ten minutes and could save you three hundred dollars this summer.
The Expensive Truth Behind My Kitchen Failure
After years of testing the top smart appliances for a seamless home experience in 2025, I have realized that the ‘smart’ label does not replace the human element. My biggest lightbulb moment happened when I discovered my high-end dishwasher was being outperformed by a budget manual model simply because I was not loading it correctly. Here are the hard-won lessons that changed my perspective on home appliances forever:
- Automation is a partner, not a servant: If you do not learn how to choose the best dishwasher for your specific loading habits, even AI sensors cannot save your plates from a gritty film.
- Water quality is the silent variable: No amount of software optimization can fix the damage caused by hard water minerals if you are not using a compatible detergent.
- Maintenance remains non-negotiable: A smart fridge that can display your calendar is still just a box of cooling coils that will burn out if they are blanketed in dust and pet hair.
The Non-Smart Tools That Save My Smart Gear
To keep my refrigerators and washing machines running at peak efficiency, I rely on a few specific resources that I trust implicitly. First, I always keep a bottle of high-quality rinse aid on hand; it is the only way to prevent cloudy glasses in modern, low-water machines. Second, I use a basic smart power monitor to track energy spikes, which often signal a mechanical struggle before a digital sensor even trips. Third, I frequently reference the refrigerators in 2025: top features that transform your kitchen guide to understand which mechanical parts are now considered user-serviceable. Finally, I swear by a long, flexible vacuum attachment for refrigerator coils—it is the single most effective fifteen-dollar investment you will ever make for your kitchen’s longevity.
Take Control of Your Kitchen Tech Today
Building a truly efficient home is not about buying every new gadget; it is about understanding the smart appliances revolution and how to make it work for your specific lifestyle. Whether you are dealing with washing machines that won’t stop vibrating or dishwashers that leave things damp, the power to fix it is usually in your hands. Don’t let the technology intimidate you. Start small, clean those hidden filters, and watch your utility bills drop as your machine’s lifespan extends. You have got this! Have you ever found a ‘hidden’ setting or a simple physical fix that completely changed how one of your appliances performed? Let me know in the comments below!