
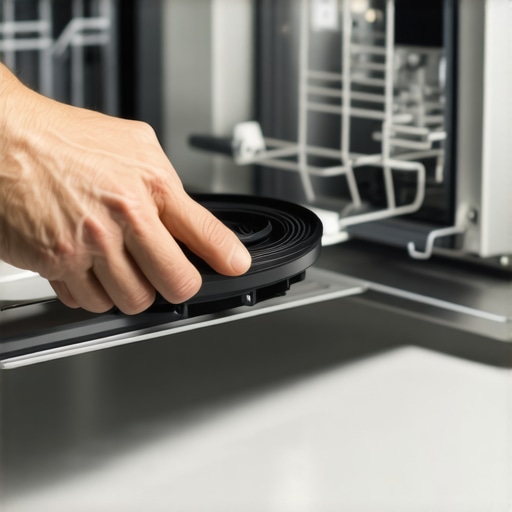
I remember the exact Tuesday morning my kitchen turned into a miniature water park. I had just brewed my first cup of coffee, stepped toward the fridge, and… squelch. My socks were instantly soaked. Looking down, a steady, mocking stream of soapy water was creeping out from under my dishwasher. My first thought? “There goes my weekend and probably three hundred bucks.” In my panic, I actually tried to “patch” the leak with duct tape—spoiler alert: it didn’t work, and the heat from the drying cycle made the adhesive smell like a chemical plant. It was a classic rookie mistake that I’m sharing so you don’t have to repeat it. But here is the good news: most of the time, that puddle is just a cry for help from a worn-out door gasket, and you can swap it out faster than it takes to finish a cup of coffee. We are going to get your kitchen dry today without a single expensive tool or a frantic call to a plumber.
Stop the Puddle Before Your Flooring Is Ruined
Dishwashers are the unsung heroes of the modern home, but that rubber gasket around the door is a high-wear item. Over time, it gets brittle, grease builds up in the corners, or the rubber simply shrinks from years of heat exposure. If you have noticed why your dishwasher is leaking water onto the kitchen floor, you need to act before your subfloor starts to rot. Standing water is the mortal enemy of hardwood and laminate, and waiting even a week can turn a $20 part replacement into a $2,000 floor renovation. Trust me, I have been there, and the mold remediation bill is not something you want to deal with.
Is This Really a DIY Job or am I Dreaming?
I hear you. You are probably thinking, “I am not a mechanic, and I definitely don’t want to flood the house.” But replacing a gasket is one of the few repairs where you literally cannot break anything. You are basically just pulling a piece of rubber out of a groove and pressing a new one in. According to data from HomeAdvisor, the average cost of a professional appliance repair visit is between $100 and $300, which is a lot to pay for ten minutes of labor. Have you ever found yourself staring at a leak, wondering if you should just give up and look for innovative dishwashers with AI technology to replace your current machine? Don’t reach for the credit card just yet. If you can use a screwdriver and have ten minutes of patience, you can do this. Before we dive into the step-by-step, make sure you aren’t just dealing with a blockage; sometimes the best way to load a dishwasher includes ensuring nothing is pressing against the door and breaking the seal’s contact during the cycle. Ready to get your hands a little dirty to save a lot of cash? Let’s look at what you need to do.
Shut Everything Down Before You Start Pulling
First, safety isn’t just a suggestion; it is the difference between a quick fix and an emergency room visit. Reach under your sink and twist the water supply valve until it is tight. Then, either unplug the unit or flip the breaker. I once skipped the breaker step because I was in a hurry, and I got a nasty little zap when my wet hand brushed against the heating element. It was not life-threatening, but it certainly cured my laziness and taught me that water and electricity are a terrible mix.
Rip Out the Gasket Like You Mean It
Open the door fully and look at the black or grey rubber strip running along the tub’s edge. You do not need a pry bar or a degree in engineering. Just grab one end with your fingers and pull. It should slide out of its channel like a long, wet noodle. If you see black gunk or white crusty buildup in that groove, that is exactly why your seal failed. It is a mix of old detergent and hard water that creates tiny gaps for water to escape. Take a damp cloth with a little dish soap and scrub that channel until it is spotless. You might even find why your dishwasher is leaving a gritty white film on your plates is partly due to this hidden gunk. 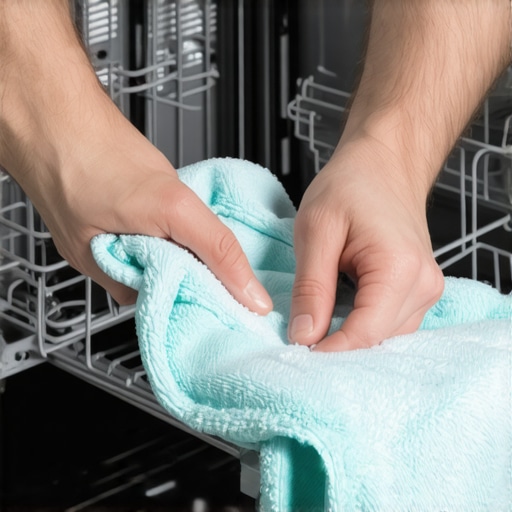
The Warm Water Trick for a Perfect Fit
New gaskets usually come coiled up in a box, which makes them stiff and prone to memory kinks. If you try to jam a cold, stiff gasket into the machine, it will never sit flush against the door. My big mistake during my first attempt was trying to force a frozen-feeling seal into the corner; it stayed bunched up, and the leak actually got worse during the first wash. Instead, throw the new gasket into a sink full of hot (not boiling) water for about five minutes. This makes the rubber supple and stretchy, like a fresh gummy worm. While it is soaking, it is a great time to learn how to check if your refrigerator door seal is actually airtight as well, since the physics of rubber seals are the same across all your large home appliances.
Seat the Seal with Surgical Precision
Find the exact center of your new gasket. Align that center point with the very top-center of the dishwasher tub. Press the gasket into the groove at the top first, then work your way down both sides simultaneously. Do not pull or stretch the rubber; let it fall naturally into the track. Think of it like pressing a heavy-duty zipper together. Once you reach the bottom corners, use your thumb to firmly seat the ends. If there is a little bit of tail left over, do not cut it! Just tuck it into the bottom-most part of the frame to ensure a complete barrier.
Check Your Work Before You Walk Away
Close the door and latch it. You should feel a bit more resistance than usual—that is the sound of a tight seal engaging. Leave the door closed for an hour to let the warm rubber set into its new home. If you want to be extra thorough, you can study the truth about the eco mode on your new dishwasher and run a short test cycle using that setting to see if any moisture escapes. If you still see a tiny drip, double-check that the seal has not bunched up in the corners. Most of the time, a firm thumb-press is all it needs to stop that why your refrigerator is leaking water directly onto the kitchen floor vibe from spreading to your dishwasher area.Now that the immediate puddle is gone, let’s dig deeper into the ‘maintenance myths’ that actually destroy your machines from the inside out. Everyone tells you to pour a gallon of white vinegar into your dishwasher or washing machine to ‘sanitize’ it. In my experience, this is the quickest way to end up back at square one with a failed gasket. Vinegar is an acid; while it’s great for a salad dressing, it can be brutal on the ethylene propylene diene monomer (EPDM) rubber used in modern seals. If you’ve been following common advice, you might think you’re being thorough, but using harsh acids can negate those gains by shortening the appliance’s lifespan. Instead, learning the truth about using white vinegar in your high-efficiency dishwasher will save you from prematurely brittle rubber.
Why Does My High-End Machine Still Stink Despite Frequent Cleaning?
It’s the question that drives every modern homeowner crazy. You’ve replaced the seal, you’ve run the ‘clean’ cycle, yet there’s a faint, swampy odor. This is often the ‘Oops’ factor I see most: the hidden biofilm. High-efficiency (HE) machines use so little water that they don’t always flush away the biological gunk that accumulates behind the drum or in the sump. According to research from Consumer Reports, nearly 20% of front-load washer owners report mold or odor issues, often caused by detergent residue and trapped moisture. If you aren’t looking at the secret to cleaning a front-load washer’s hidden filter, you’re only cleaning the surface. This biofilm acts like a sponge, soaking up smells and redepositing them on your ‘clean’ laundry. 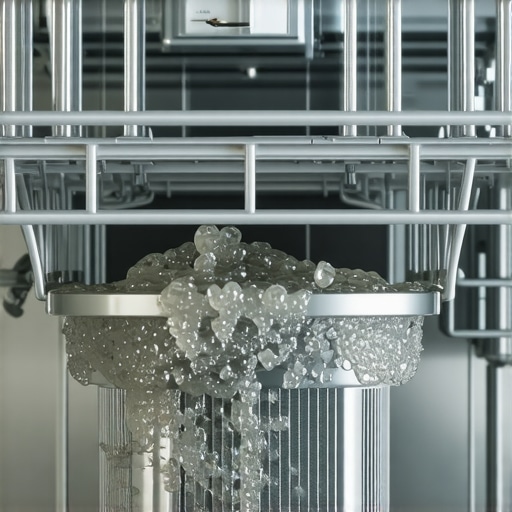
Stop Using So Much Detergent Already
The ‘more is better’ philosophy is the mortal enemy of your smart appliances. We’ve been conditioned to want mountain-sized suds, but in an HE environment, those suds create an air pocket that cushions the clothes rather than cleaning them. Even worse, that excess soap stays in the machine’s crevices and hardens. I’ve seen control boards fry because ‘suds-lock’ forced the motor to work three times harder than intended. If you want to keep your machine alive, you need to master the secret to using less detergent in your high-efficiency washer. It’s also worth noting that sensors can be fooled by this buildup; the hidden sensor that stops your dishwasher from drying properly is often just covered in a layer of old soap.
High Spin Speeds Are Ruining Your Favorite Shirts
Sometimes the nuance isn’t just about the machine’s health, but what it does to your belongings. If you’ve noticed the reason your washing machine is tearing small holes in your clothes, don’t just blame a stray bobby pin. In many cases, it’s the sheer force of modern high-RPM spin cycles pulling delicate fibers through the tiny drainage holes in the drum. Reducing the speed can extend the life of both your motor and your wardrobe. The same logic applies to cooling efficiency; if your fridge is acting up, sometimes you just need to know how to recalibrate your refrigerator’s internal thermometer for better cooling rather than replacing expensive parts. Have you ever fallen into the vinegar trap or noticed that ‘phantom’ smell? Let me know in the comments below! If you’re looking for more ways to keep your kitchen running perfectly, check out how to save money on your electric bill by tweaking your fridge settings to optimize your efficiency even further.
Keep Your Smart Sensors From Losing Their Minds
The real trick to longevity isn’t just cleaning; it’s about managing the data and the delicate electronics that run the show. When your machine starts acting up, it’s often a communication breakdown between the sensor and the control board rather than a mechanical failure. I’ve spent hours troubleshooting why your smart dishwasher app keeps giving you phantom errors, only to realize the “error” was just a dirty sensor lens. If you’re dealing with high-tech gear, you need to treat it like a computer. This means you must know how to update your smart fridge software without crashing the system. A failed firmware update can turn a $4,000 refrigerator into a very expensive stainless steel box. If you’ve found yourself wondering how to fix a smart dishwasher that won’t recognize its own detergent pods, the culprit is often a clouded optical sensor rather than a physical blockage.
How do I maintain these complex systems over the long haul?
Maintenance in the age of the smart home requires a shift in your toolkit. You aren’t just a “fix-it” person; you are effectively a system administrator for your kitchen. One tool I swear by is a basic digital multimeter. Most people think they are only for electricians, but if you want to know how to tell if your dishwasher heating element is actually broken, a continuity test is the only way to be 100% sure before you spend money on a replacement part. I also keep a set of plastic trim tools—the kind used for car interiors—to pop off appliance panels without scratching the finish. They are far superior to a flathead screwdriver for prying delicate plastic clips. According to the Association of Home Appliance Manufacturers (AHAM), modern sensors are calibrated to detect particulate matter at the parts-per-million level, meaning even a thin film of hard water can trigger a false failure code. This is why the trick to removing hard water spots from your dishwasher interior is about more than just aesthetics; it’s about keeping those sensitive optical eyes clear. 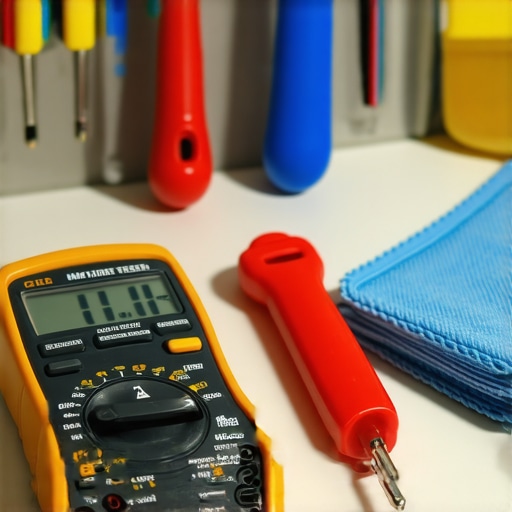
Why Your Next Washer Will Fix Itself Before You Know It’s Broken
Beyond the physical tools, we are entering an era of predictive maintenance. By 2025, the future of home appliances trends to watch in 2025 suggest that AI won’t just tell you something is broken; it will adjust the cycle to compensate for a failing part until you can schedule a repair. We are already seeing this with washing machines that save water expert advice for 2025, where the machine recalculates water pressure based on micro-clogs in the line. If your connectivity is the issue, check how to keep your smart home hub from interfering with appliance signals, as frequency congestion is a common silent killer of smart features. If you’re currently struggling with a temperamental unit, try this: manually reset your machine’s “learned” logic by unplugging it for exactly ten minutes. It forces a hard reboot of the internal sensors, which often clears those stubborn software glitches. Go ahead and try this “power cycle” reset today—it’s the fastest way to see if your problem is mechanical or just a digital hiccup!
The Reality Check Most Manufacturers Wont Give You
After years of wrestling with gaskets and fighting ‘phantom’ error codes, I have realized that home appliances are far more communicative than we think—we just aren’t listening. First, I learned that more soap almost always equals more problems; those extra suds are literally choking your machine. Second, never underestimate the power of a hard reset. Sometimes, the computer just needs to clear its head. Third, your biggest enemy isn’t wear and tear, it is neglect. If you ignore a how to replace the door seal on a front-load washing machine guide because you think it looks hard, you are trading a twenty-minute fix for a lifelong mold problem. Finally, always verify your parts; not every rubber strip is made equal, and buying generic often leads back to the same puddle.
A Few Secrets to Save Your Next Weekend
If you are tired of being at the mercy of a repairman’s schedule, start building a small “smart kit.” I always recommend keeping a digital multimeter handy; it is the only way to move past guesswork when checking a heating element. I also suggest bookmarking the ultimate guide to smart home appliances for a modern living to stay ahead of software quirks. For physical repairs, grab a set of automotive plastic trim tools—they are the secret weapon for popping open plastic dishwasher panels without leaving a single scratch. Also, do not let those green stickers fool you; learning how to tell if your appliances eco-friendly tag is just marketing will help you choose machines that are actually built to last, not just built to look efficient.
Stop Fearing the Machine and Start Fixing
There is a unique sense of empowerment that comes from hearing your dishwasher hum quietly instead of dripping onto the floor. You don’t need to be an engineer to master the smart appliances revolution how to choose the best dishwasher for your home or to swap out a failing sensor. Your home appliances are there to serve you, and with a little bit of grease on your elbows and the right information, you can keep them running for a decade longer than the average homeowner. Take that first step today—whether it’s cleaning a filter or tightening a seal—and reclaim your kitchen. Have you ever tried a ‘pro’ tip like the vinegar trick only to find it made things worse? Let me know your biggest ‘oops’ moment in the comments below! #IMAGE_PLACEHOLDER_E#