
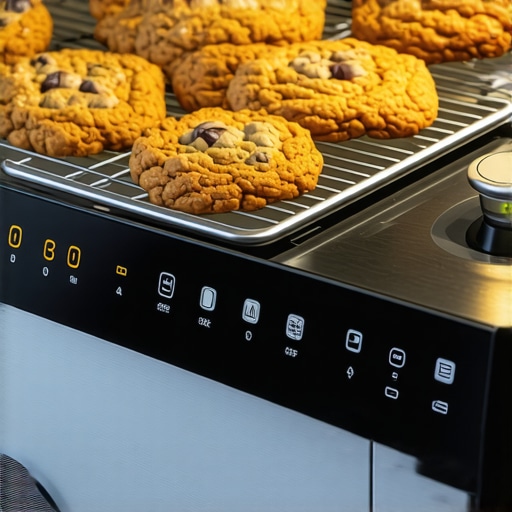
I remember standing in my kitchen last November, staring at a tray of chocolate chip cookies that looked more like puddles of grease than the ‘Award-Winning’ treats promised by the recipe. I had just dropped a significant chunk of change on a state-of-the-art smart oven, assuming that a high-tech screen and Wi-Fi connectivity meant I could finally retire my old-school kitchen instincts. I was wrong. The display insisted the cavity was a perfect 350°F, but the charred edges and raw centers told a much more honest story. It was a visceral lesson in appliance betrayal. If you have ever pulled a ‘perfectly timed’ cake out only to find it is a liquid mess in the middle, you know exactly the frustration I am talking about. Does your oven actually reach the temperature it claims, or is it just giving you a polite estimate?
Your Smart Oven is Gaslighting You
We buy these expensive machines because we want precision. We want to be able to follow the ultimate guide to smart home appliances for a modern living and expect our kitchen to work for us, not against us. But here is the cold, hard truth: even the most expensive smart ovens can be off by as much as 25 degrees right out of the box. According to experts at Consumer Reports, internal thermostats are often placed in spots that do not reflect the actual temperature where your food sits. Today, I am going to walk you through the exact process I used to whip my oven back into shape so your soufflés never collapse again. I made the classic mistake early on of assuming a firmware update for my smart kitchen appliances would magically fix the physical heating elements. It did not. Software is great, but physics is what bakes the bread.
Is This High-Tech Calibration Actually Worth the Headache?
You might be skeptical. After all, why should you have to fix something you just paid thousands of dollars for? It feels like a chore, but calibrating your oven is the difference between being a ‘good’ cook and a consistent one. If you have already learned how to calibrate your refrigerator thermometer without calling a pro, you will find this process follows a similar logic of verifying reality against the digital display. Have you noticed your favorite recipes taking five or ten minutes longer than the instructions say? That is your first red flag. Let’s get your kitchen back on track by testing the actual heat levels before we touch a single digital setting.
Grab a Reliable Second Opinion
Your oven’s internal sensor is basically a politician; it tells you what you want to hear while doing something completely different in the background. To fix this, you need a high-quality hanging oven thermometer. Do not use a digital meat probe. I once tried to shortcut this by sticking a wired meat thermometer into the center rack, thinking the digital readout would be more precise. The plastic casing on the probe handle didn’t just melt; it fused to my rack, creating a toxic-smelling mess that took three days to scrape off. Lesson learned: spend the ten dollars on a dedicated stainless steel oven thermometer. Place the thermometer right in the center of the middle rack. This is where most of your baking happens, and it is the only zone that truly matters. If you are aiming for top smart appliances for a seamless home experience in 2025, you cannot rely on the ‘ready’ beep. 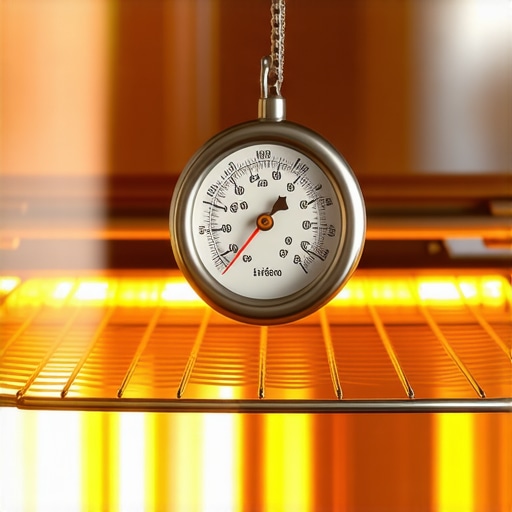
The 45-Minute Heat Soak Strategy
The biggest mistake I see is people checking the temperature the second the oven beeps. Smart ovens are notorious for aggressive preheating cycles where they blast the element to reach a target, but the walls of the oven are still cold. It is a lot like why your high-efficiency fridge runs more often than an old one—it is managing energy cycles, not just brute force. Set your oven to 350°F and walk away for at least 45 minutes. You need the entire cavity to reach thermal equilibrium. Once the time is up, look through the glass—do not open the door! Opening the door can drop the temperature by 25 degrees in seconds. Record the reading. Now, wait another 15 minutes and record it again. Average these two numbers. If your average is 335°F but the display says 350°F, you have a 15-degree deficit that needs correcting.
Hack the Hidden Service Menu
Most modern ovens allow for a ‘user calibration’ or ‘temperature offset’ buried in the settings. This isn’t just for fixing a smart oven that refuses to connect to Alexa; it is a fundamental tool for accuracy. Look for a gear icon or a ‘Settings’ tab on your touchscreen. You are looking for a feature usually labeled ‘Temp Offset’ or ‘Calibration.’
Apply the Mathematical Correction
If your oven was 15 degrees too cold, you will enter +15 into this setting. This tells the oven’s brain to kick the heating element up another notch whenever it thinks it has hit the target. It is a simple software patch for a physical discrepancy. Just like updating the firmware on your smart kitchen appliances, this change is immediate. After you save the settings, perform the 45-minute heat soak test one more time to verify the fix.
What to Do When the Offset Limit is Reached
Most ovens only allow an adjustment of plus or minus 35 degrees. If your oven is off by 50 degrees, you aren’t looking at a calibration issue; you are looking at a failing heating element or a dead thermal sensor. This is the point where you stop being a DIYer and start looking at warranties. Similar to mistakes that shorten the life of your smart refrigerator, ignoring a massive temperature gap will eventually burn out the control board as it struggles to compensate for a failing part.
Stop Rinsing Your Dishes Before Loading
Most of us grew up being told to scrub every scrap of food off a plate before it ever touches the dishwasher rack. It feels intuitive, right? You want to help the machine out. But if you have invested in innovative dishwashers with AI technology you must know, you are actually sabotaging the cycle. Modern detergents are packed with enzymes designed to latch onto food particles. When you pre-rinse, the detergent has nothing to ‘grab’ onto, leading it to bounce around and eventually pit your glassware or leave a cloudy film. The Association of Home Appliance Manufacturers (AHAM) has frequently pointed out that skipping the rinse can save thousands of gallons of water over an appliance’s lifetime without sacrificing cleanliness. Your smart sensors actually need that grime to calibrate the water pressure and temperature. If the sensor detects ‘clean’ water early on, it shortens the cycle, often leaving your load less sanitized than it should be.
The Suds Trap That Kills Smart Washers
The most common ‘oops’ I see in the laundry room is the belief that more bubbles equal more clean. In the world of high-efficiency (HE) machines, this is a dangerous myth. I recently spoke with a technician who told me that 80% of his service calls for ‘leaks’ are actually just ‘oversudsing’ caused by users ignoring the fact that your washer doesn’t need a whole cup of detergent to get clothes clean. When you use too much soap, it creates a thick foam that the machine cannot fully rinse away. This residue sits in the outer drum, becomes a breeding ground for bacteria, and is the reason your high-efficiency washer smells like old gym socks. If you keep doing this, you aren’t just making your clothes smell funky; you are straining the motor as it tries to spin through a literal wall of foam. 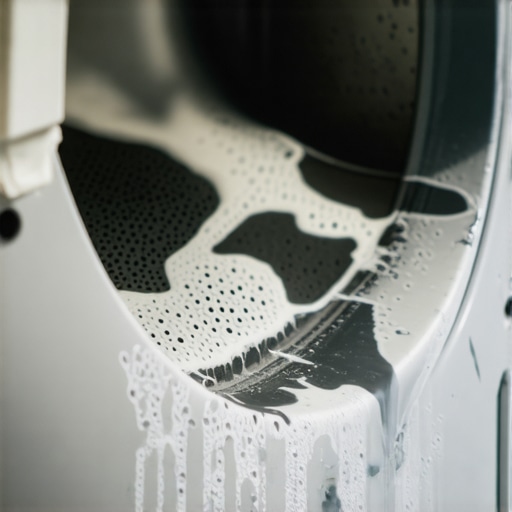
Why Does My 2025 Fridge Run Constantly Compared to My 1990s Model?
If you have upgraded to refrigerators in 2025 top features that transform your kitchen, you might have noticed a low, persistent hum that never seems to stop. In older models, the compressor was binary: it was either 100% on or 100% off. It was loud, energy-hungry, and hard on the hardware. Understanding the difference between inverter and traditional refrigerator compressors is key here. Modern units use variable-speed inverters that stay on at a very low power level to maintain a rock-steady temperature. It is actually why your high-efficiency fridge runs more often than your old one—it is being efficient, not struggling. Think of it like a car idling at a stoplight rather than turning the engine off and on every thirty seconds. It saves energy and keeps your leafy greens from wilting. Have you ever fallen into the trap of thinking your ‘always-on’ fridge was broken? Let me know in the comments below, because I definitely panicked the first week I had mine!I keep a dedicated ‘appliance survival kit’ in my garage that consists of just three things: a torpedo level, a flexible 36-inch coil brush, and a multi-bit screwdriver. You do not need a full workshop or a degree in mechanical engineering to be your own home hero. If you have truly committed to the ultimate guide to smart home appliances for a modern living, you have to accept that these machines are more sensitive than the ‘dumb’ units of the 90s. For instance, if you have noticed your plates coming out feeling slightly gritty or seen a hazy film on your glassware, you likely haven’t learned how to clean the hidden filter in your energy efficient dishwasher lately. Most people assume the dishwasher is self-cleaning, but once you pull that mesh screen and see the ‘gray slime’—a delightful slurry of bacon grease and undissolved detergent—you will realize why your machine was struggling. I make it a habit to scrub this with a stiff brush every single month to keep the drainage paths clear.
How can I keep my smart machines from failing prematurely?
Real maintenance is a mix of physical hygiene and environmental alignment. One of the most common mistakes that are shortening the life of your smart refrigerator is letting household dust choke the condenser coils. According to a detailed service bulletin from the Northeast Appliance Service Association, restricted airflow accounts for nearly 70% of out-of-warranty compressor failures. If you have a pet that sheds, you should be vacuuming under your fridge grille quarterly, not yearly. Your compressor should not have to work double shifts just because Fido’s fur is blocking the intake.
A Five-Dollar Level is Better Than a Five-Year Warranty
If your laundry room sounds like a jet engine taking off every Tuesday, your floor is likely the culprit, not the motor. Learning how to level a washing machine on an old slanted floor is the single best way to prevent the dreaded bearing failure that kills modern high-speed washers. I always use a 9-inch magnetic torpedo level to check both side-to-side and front-to-back. If that bubble isn’t perfectly centered, your machine is effectively vibrating its internal components to death during every 1200-RPM spin cycle. 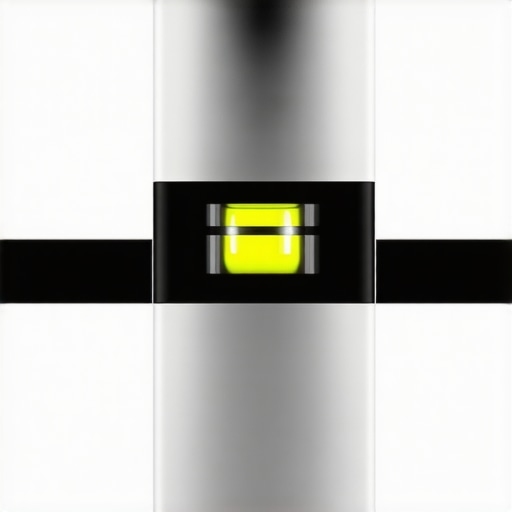
Your High-Tech Gear Needs Digital Hygiene Too
We often focus on the physical, but do not forget the software layer. Just as you should know how to update the firmware on your smart kitchen appliances, you also need to monitor their network health. In my experience, a ‘glitchy’ fridge screen or a lagging app is often just a weak Wi-Fi signal causing the local processor to hang. Looking toward the future of home appliances trends to watch in 2025, we are seeing more machines equipped with self-diagnostic AI that can predict a failure before it happens. Until then, we are the first line of defense. I want you to go to your laundry room right now and place a half-full glass of water on top of your washer while it is in the spin cycle. If that water is splashing over the rim, your machine is not level—grab a wrench and adjust those feet today before you are stuck buying a whole new motor next month.
The Hardest Lessons I Learned About My High-Tech Kitchen
After years of tinkering with smart ovens and high-efficiency washers, the biggest lightbulb moment I had was realizing that technology is a partner, not a replacement. I used to think that buying the ultimate guide to smart home appliances for a modern living meant I would never have to think about maintenance again. The truth is, these machines are more like thoroughbred horses; they perform beautifully, but they are incredibly sensitive to their environment. I have learned that a smart appliance becomes very dumb very quickly if you ignore the basics of level floors and clean air intake.
Another realization? Software updates will not fix a physical blockage. I spent weeks trying to troubleshoot why my dishes were cloudy before I finally learned how to clean the hidden filter in your energy efficient dishwasher. That five-minute physical task did more for my performance than any app-based diagnostic ever could. It is about balancing the digital convenience with old-school mechanical common sense.
#IMAGE_PLACEHOLDER_E#
The Gear That Actually Makes a Difference
If you want to keep your home appliances running like new, you do not need a specialized degree; you just need a few reliable tools. First, a magnetic torpedo level is non-negotiable. Whether you are figuring out how to level a washing machine on an old slanted floor or ensuring your fridge is not leaning back, this five-dollar tool prevents catastrophic mechanical strain. Second, I always keep a bottle of dedicated rinse aid nearby. Even if your pods claim to have it built-in, a separate reservoir helps your dishwasher finish the drying job properly. Finally, get a simple dial thermometer for your fridge. Setting the best refrigerator temperatures for keeping leafy greens crisp is much easier when you can verify the digital readout with a physical secondary source you can trust.
Keep Your Smart Home Working for You
Owning modern home appliances should simplify your life, not add to your weekend chore list. By taking these small, proactive steps, you are protecting your investment and ensuring your home remains a place of comfort rather than a source of endless error codes. You have the tools and the knowledge now—do not be afraid to get your hands a little dirty to keep things running clean. Have you ever discovered a maintenance secret that completely changed how your machine performed? Let me know in the comments below!