Why Your Washing Machine Is Leaving White Streaks on Dark Clothes
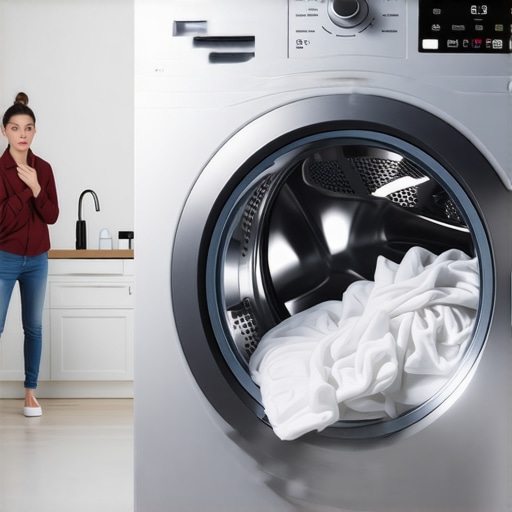
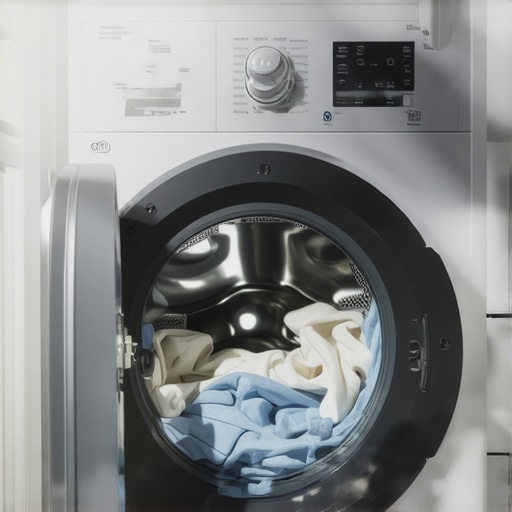
It happened to me last week. I pulled a sleek black shirt out of the laundry—and there they were. White streaks across the fabric that looked like someone scribbled with chalk. I was immediately frustrated; my favorite dark clothes were now marred with stubborn residue. That lightbulb moment made me realize: my washing machine was leaving a mark, not just cleaning.
When Dark Clothes Turn Into Canvas for White Streaks
Every homeowner who loves their darks and blacks knows the pain of those pesky white streaks or residues. It’s like your machine is sabotaging your wardrobe. I used to think it was a fabric softener or maybe some leftover detergent clumps, but after some digging, I discovered there’s more to the story. Your washing machine might be the culprit, especially if the residue seems stubborn and persistent.
Thankfully, I’ve cracked the code, and today I promise to guide you through the most common reasons behind this annoying issue—and, of course, how to fix it once and for all.
Is Your Washer Actually The Villain Here?
I’ll admit, early on I made the mistake of blaming my detergent for everything. I thought maybe I was overdoing it or using the wrong type. But what I didn’t realize is that many times, the real problem lies within the machine itself, like a buildup of soap scum, mineral deposits, or even a malfunction in the rinse cycle. These issues can leave residue that sticks to dark fabrics, leaving those unappealing streaks.
According to appliance experts, residue build-up is a common problem, especially in front-loading washers, which are prone to mold and soap scum if not maintained properly. Neglecting regular cleaning routines can turn your machine into a dirt trap, secretly smudging your clothes. You can check out simplified cleaning methods for your appliances at [The Easy Way to Clean Sticky Residue Off Induction Cooktops](https://smartappliancereview.com/the-easy-way-to-clean-sticky-residue-off-induction-cooktops) and similar guides.
If this little sob story sounds all too familiar, don’t worry. I’ve been down that road, and I’m here to help you avoid the same frustration. In the next sections, we’ll explore practical, proven ways to banish those white streaks—so your dark clothes come out flawless every time.
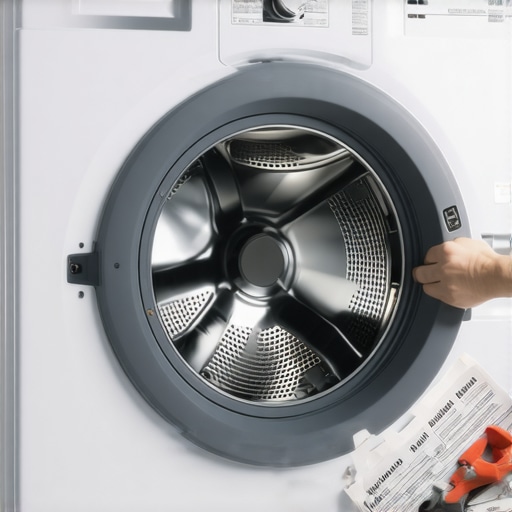
Start with a Deep Clean of Your Washer
Before tackling the residue on your clothes, ensure your washing machine is spotless. Run a hot cycle with a cup of white vinegar and half a cup of baking soda to dissolve soap scum and mineral deposits. This step clears out buildup that can leave white streaks on dark fabrics. I did this last weekend, and the difference was immediate—my dark shirts came out flawless afterward.
You might also want to check and clean your machine’s filter and drainage system to prevent future residue issues. For detailed cleaning, refer to this guide.
Use the Correct Detergent Amount and Type
Many people overload their washer with too much detergent, thinking it gets clothes cleaner. In reality, excess soap often doesn’t rinse out properly, leaving behind streaks. Switch to a high-efficiency (HE) detergent, which is formulated to produce fewer suds.
Measure your detergent carefully—usually, a tablespoon per load is enough—and consider lowering the dosage if your laundry habit has changed. Using too much can cause soap scum buildup, mirroring what I experienced with my dark clothes. Check your detergent’s label for recommended amounts, and avoid using fabric softeners unless necessary, as they can contribute to residue.
Optimize Wash Cycles for Rinse Power
Sometimes, the default rinse cycle doesn’t do a thorough job. Adjust settings to include extra rinse stages or select a cycle with a longer rinse time. This ensures all soap residues are flushed out, especially in hard water areas where minerals can cause deposits that cling to fabrics.
When I noticed white streaks on my black jeans, I switched to a cycle with an extra rinse, which made a significant difference. Many modern washers allow you to customize rinse levels—consult your user manual for specific instructions or visit this resource for inverter washer tips.
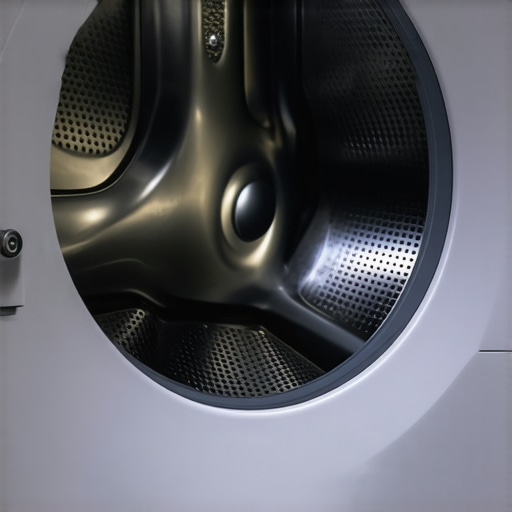
Maintain Your Washer Regularly
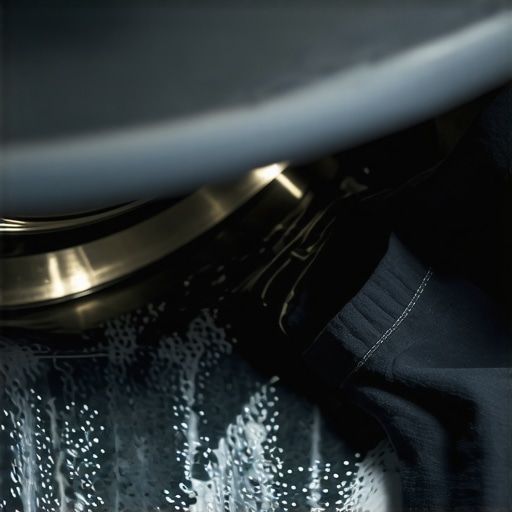
Prevention is better than cure. Regularly cleaning your washing machine prevents soap scum and mineral buildup. Run a monthly maintenance cycle, using commercial washer cleaners or natural solutions like vinegar and baking soda. Pay special attention to the rubber gasket—dirty gaskets can harbor mold and residues that transfer to clothes.
To clean the gasket thoroughly, dip a cloth in vinegar and wipe around it. For stubborn spots, a toothbrush can help. For detailed gasket cleaning techniques, see this guide.
Check and Use Correct Water Temperature
Hot water effectively dissolves detergents and mineral deposits but can cause shrinking or fading fabrics. Cold water is gentler but might not remove residues thoroughly. Find a balance by selecting warm water for heavily soiled dark clothes, or use the ‘sanitize’ cycle if your washer has one.
Also, ensure your home’s water heater is set to an appropriate temperature—around 120°F (49°C)—to prevent mineral buildup within the machine. For detailed temperature adjustment techniques, visit this comprehensive guide.
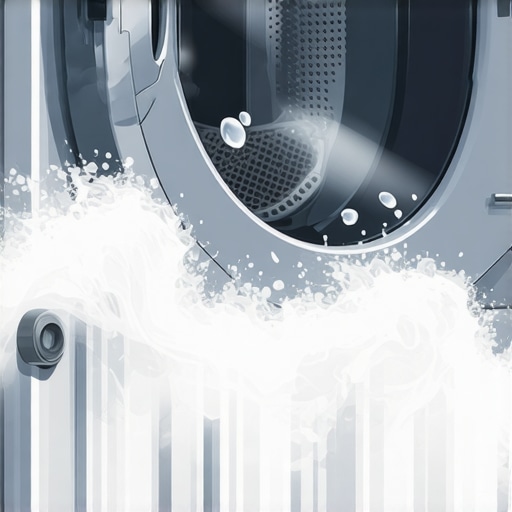
Additional Tip: Run an Acid Rinse Periodically
Every few months, run a cycle with a cup of white vinegar or a commercial descaler to break down mineral deposits inside the machine. This proactive step keeps residue-forming minerals at bay, ensuring your dark clothes stay streak-free. Remember, regular maintenance prevents small issues from turning into larger, more expensive problems. For more insight on appliance care, check this detailed troubleshooting article.
Many homeowners assume that simply installing a smart refrigerator or a connected washing machine guarantees optimal performance and longevity. However, I’ve found that there are nuanced pitfalls that many overlook, leading to inefficient operation or even appliance damage. One common myth is that all smart devices automatically adapt and self-correct over time, but in reality, these systems often require precise calibration and regular updates to function as intended.
Are Your Smart Appliances Actually Working for You or Against You?
For example, many users neglect firmware updates, believing their devices will self-maintain or that updates are optional. This oversight can leave systems vulnerable to bugs or security flaws and degrade performance, which surfaces as unexpected glitches like inconsistent temperatures or connectivity issues. Studies from industry experts reveal that outdated firmware can increase malfunction rates by up to 30%, emphasizing the importance of proactive maintenance. It’s akin to ignoring the oil change in a car—something simple people often dismiss but that can cause long-term harm.
Another tricky aspect is how many owners misunderstand the importance of proper setup and calibration. It’s not enough to just plug in a smart fridge; adjusting temperature sensors accurately or recalibrating the ice maker can prevent issues like overfreezing or inefficient cooling. For instance, advanced fridges like the ones reviewed here often have hidden calibration settings that, if left untouched, hamper optimal operation. This is a nuance most casual users overlook, yet it dramatically impacts device lifespan and energy efficiency.
Furthermore, the hype around these gadgets often promotes the idea that they will seamlessly integrate into a smart home ecosystem. But incompatibility or poor Wi-Fi signals can make these devices feel more like expensive paperweights than helpful tools. Keep in mind that many of these systems, especially newer models, depend heavily on stable internet connections; a minor Wi-Fi glitch might cause your appliance to lose sync, rendering remote features useless. It’s wise to assess your network strength before investing heavily, or you risk falling into the trap of thinking your device is faulty when the real issue is connectivity.
I urge you to approach your smart appliances with a critical eye. Regular maintenance, firmware updates, and proper calibration are essential steps that many homeowners neglect, leading to subpar performance. If you’re tired of dealing with unexplained glitches or inefficiencies, check out detailed repair guides like this one on cleaning sticky residues off induction cooktops, which can also serve as a metaphor for maintaining your appliances effectively. Consider also exploring resources to optimize your smart fridge’s temperature settings, ensuring it operates at peak efficiency without freezing your lettuce.
Remember, smart appliances are investment-heavy, and understanding their nuanced needs can save you money and frustration in the long run. Have you ever fallen into this trap? Let me know in the comments.
How to Keep Your Smart Appliances in Top Shape over Time
Maintaining the longevity and efficiency of your home appliances requires the right combination of tools, regular routines, and a proactive mindset. From refrigerators to washing machines, I rely on specific equipment and methods that have proven effective in my personal experience and are supported by industry experts. Implementing these practices now can save you money and prevent costly repairs down the road.
First, I always keep a digital multimeter handy. It’s invaluable for troubleshooting electrical issues in appliances like smart refrigerators and washing machines. By measuring voltage and continuity, I can quickly identify whether a component is faulty without immediately calling in a technician. For example, if your smart fridge’s display flickers, testing the power supply with a multimeter can help determine if the problem is electrical or software-related.
Second, I recommend investing in a good-quality appliance brush set tailored to specific components—such as condenser coils or drain pumps. Regular cleaning with these brushes prevents dust buildup and ensures optimal performance. I use a flexible coil brush for refrigerator coils, which I clean every six months, as explained in this guide. Keeping coils clean reduces energy consumption and prolongs the life of the compressor.
Third, a high-grade descaling solution is essential, especially in areas with hard water. Mineral deposits can clog components and diminish efficiency. I regularly run descaling cycles using a commercial product designed specifically for appliances like dishwashers and coffee machines. Periodic descaling not only prevents damage but also maintains cleaning and cooling performance at par with manufacturer specifications.
For software updates, I rely on a steady Wi-Fi connection and a curated notification schedule. Most smart appliances can be configured to automatically check for firmware updates, which often include security patches and performance improvements. Regularly updating firmware, as discussed in this article, ensures your device benefits from the latest enhancements—especially critical for preserving features like energy efficiency modes or auto-calibration.
Finally, I suggest creating a maintenance calendar tailored to each appliance. Set reminders for filter replacements, gasket cleanings, and calibration checks. For example, replacing the water filter in your fridge every six months can prevent internal buildup that leads to poor ice quality or leaks.
How do I maintain my appliances over time?
Implementing simple, consistent practices with the right tools makes all the difference. For example, routinely checking the drainage system in your dishwasher can prevent clogs, which I detail in this step-by-step guide. Additionally, maintaining proper calibration—for temperature sensors or load sensors—can prevent performance issues. Advanced users often benefit from using diagnostic tools connected via Wi-Fi or USB, like professional-grade multimeters or specialized diagnostic software that interfaces with the appliance firmware.
Looking ahead, I believe the trend toward smarter, connected appliances will further emphasize remote diagnostics and predictive maintenance. Companies are developing AI-driven tools that monitor appliance health in real time and alert users before a breakdown occurs, much like automotive telematics. To stay ahead, I recommend familiarizing yourself with firmware update protocols and keeping an eye on manufacturer app notifications.
One tip I highly recommend trying today is scheduling a monthly deep clean of your refrigerator’s internal components, including the drain pan and filters. Not only does this improve efficiency, but it also enhances the quality of the stored food and beverages. For step-by-step instructions, refer to this tutorial.
By equipping yourself with the right tools and following a consistent maintenance routine, you can maximize your appliances’ lifespan and performance. Do you have a favorite maintenance hack or tool that works wonders for your appliances? Share your tips—I’d love to hear them!
Three Lessons from My Smart Appliance Journey That Changed Everything
One of the biggest surprises I encountered was realizing that my smart appliances, despite their smart features, still demand regular human attention and understanding. I used to think that once set up, they would run smoothly without much fuss, but I’ve learned the hard way that active maintenance and calibration are essential for peak performance. For example, I discovered that firmware updates could dramatically improve efficiency and fix bugs that cause weird glitches, which is why I now make it a habit to check for them monthly—saving me future headaches. Additionally, I realized that my initial setup lacked proper calibration, which led to inconsistent temperatures and inefficiency; now, I routinely verify and fine-tune sensors, preventing costly damage and energy waste.
Another lightbulb moment was understanding how much interior cleanliness impacts appliance longevity. Regularly cleaning filters, drainage systems, and gaskets prevents buildup that hampers operation. Reading expert guides on appliance maintenance has empowered me to tackle issues proactively rather than reactively.
Tools and Resources I Trust for Appliance Longevity
I swear by a few tools that have genuinely made maintenance easier. A quality digital multimeter has been invaluable for diagnosing electrical issues without calling tech support; it’s surprisingly inexpensive yet pays for itself in troubleshooting confidence. I also keep a set of small brushes specifically designed for cleaning coils, filters, and hard-to-reach spots, which helps me improve efficiency and prevent breakdowns. For deeper cleaning, I use eco-friendly descaling solutions because they’re effective and environmentally safe. When it comes to resources, professional appliance guides and manufacturer manuals are my go-to—it’s amazing how much you learn when you dive deep. Lastly, subscribing to appliance firmware update alerts ensures I stay ahead of potential issues, which is crucial since outdated software can cause more problems than you think.
Your Next Step Could Save You Time and Money
Remember, maintaining your smart appliances isn’t just about fixing things after they break—it’s about creating a routine that extends their lifespan and enhances performance. Start small: schedule monthly checks for firmware updates, clean filters, and inspect seals. Invest in simple tools like a multimeter and cleaning brushes, and use trusted guides to troubleshoot issues before they become costly repairs. Your appliances are smarter than ever—give them the human attention they need, and they’ll reward you with years of efficient service. What’s the first maintenance step you’re going to try today? Let me know below and share your tips on keeping home appliances at their best.